
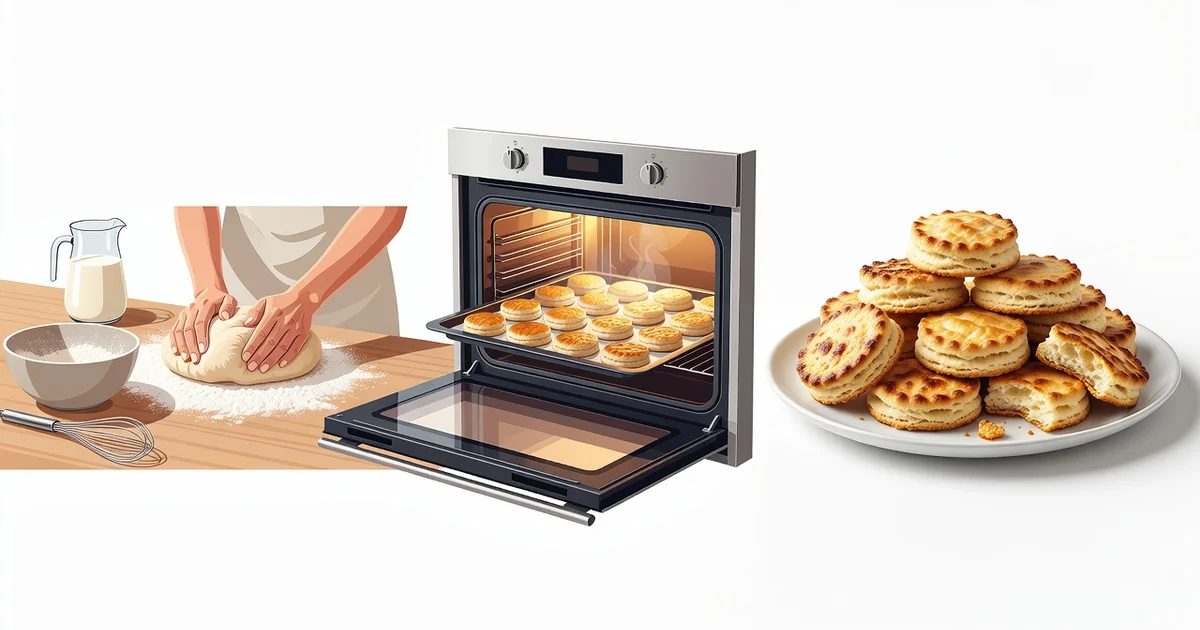
There’s something irresistible about biting into a perfectly baked biscuit with a crisp, golden exterior and a tender crumb inside. Whether you’re a home baker or a budding pastry enthusiast, mastering the art of making crispy and golden bakery biscuits comes down to a few key techniques — from choosing the right flour and fat to nailing your oven temperature and baking time.
In this guide, we’ll walk you through the essential steps, common pitfalls, and professional tips that transform simple ingredients into bakery-quality biscuits every single time. Get ready to fill your kitchen with the warm, buttery aroma of perfectly baked golden biscuits.
Introduction
The aroma of butter and sugar caramelizing in a hot oven is one of the most welcoming scents in any kitchen. Yet for many home bakers, achieving that perfect bakery-style biscuit—crisp to the bite, deeply golden, and shattering satisfyingly—feels like a secret held only by professional bakers. This article explores The Art of Making Crispy and Golden Bakery Biscuits with clear, practical guidance. Whether you are a complete beginner or someone who has produced a few batches of pale, chewy discs, the principles here will help you understand exactly what happens inside your oven and why certain techniques consistently produce superior results.
The difference between a soft, cake-like biscuit and a thin, snappy, golden one comes down to a handful of controllable variables: fat type and temperature, sugar selection, flour protein content, hydration, mixing method, and oven behavior. Once you understand how these factors interact, you gain the ability to diagnose and correct almost any biscuit problem. No expensive equipment is required—just reliable information, consistent habits, and a willingness to pay attention to details.
Key Concepts
Before diving into technique, it helps to understand the core scientific and practical concepts that govern biscuit texture and color.
- Fat and melting point: Butter, shortening, and margarine melt at different temperatures. Butter melts relatively low and releases water, which creates steam and lift. Shortening melts higher, often producing a more uniform, sandy crispness. For golden edges, butter is usually preferred because its milk solids brown.
- Sugar type and hygroscopy: Granulated sugar promotes spread and crispness. Brown sugar retains moisture and produces chew. Powdered sugar contains cornstarch and yields a tender, short bite. The ratio of white to brown sugar directly controls how crisp the final biscuit becomes.
- Flour protein: Bread flour has more protein and creates gluten, leading to toughness. All-purpose is a middle ground. Cake flour or pastry flour has less protein and produces a more delicate, crumbly, and often crispier biscuit because less gluten develops.
- Hydration and steam: Water in dough turns to steam during baking, pushing the dough upward and outward. More water means more spread and a thinner, crisper result—up to a point. Too much water and the biscuit becomes soft rather than crisp.
- Maillard reaction and caramelization: The golden color and complex flavor come from two chemical processes. The Maillard reaction occurs between amino acids and reducing sugars, typically above 140°C (284°F). Caramelization occurs when sugars themselves brown, usually above 160°C (320°F). Both require sufficient heat and low moisture at the surface.
- Cooling and setting: Biscuits continue to firm and crisp as they cool. Removing them from the baking sheet too early traps steam underneath, softening the base. Cooling on a wire rack allows air circulation and final moisture evaporation.
Understanding the fundamentals of The Art of Making Crispy and Golden Bakery Biscuits helps you make informed decisions. When you know why a recipe calls for cold butter or why you should chill the dough, you can adapt confidently instead of following instructions blindly.
Deep Dive
Professional bakery biscuits achieve their distinctive character through controlled dough development and precise baking. Let’s examine the most important variables in detail.
The role of creaming
Creaming butter and sugar together incorporates air pockets. During baking, these air pockets expand, helping the biscuit rise. However, for very crispy biscuits, you often want less aeration and more uniform spread. Over-creaming produces a puffy, cake-like texture. Under-creaming leaves gritty sugar and uneven browning. The sweet spot is usually two to three minutes at medium speed until the mixture is pale and fluffy but not white.
Chilling matters more than you think
Chilling dough before baking solidifies the fat. When the cold dough hits the oven, the fat melts more slowly, limiting spread and producing a thicker, crisper biscuit with defined edges. Chilling also hydrates the flour, reducing gluten development and leading to a more tender crumb. For slice-and-bake biscuits, chilling is essential to prevent the log from squashing.
Oven temperature and position
Bakery biscuits are usually baked at 175°C to 190°C (350°F to 375°F). Lower temperatures dry the biscuit out before browning, giving a hard, pale result. Higher temperatures brown the outside before the inside sets, leaving a doughy center. The middle rack provides the most even heat. If your oven has hot spots, rotate the baking sheet halfway through. Convection ovens brown faster, so reduce the temperature by about 15°C (25°F).
Thickness and spacing
Roll dough to a consistent thickness—usually 3 to 5 millimeters for crispy biscuits. Uneven thickness leads to burned edges and raw centers. Space biscuits at least 5 centimeters apart. As they spread, they release steam. If they touch, the edges stay pale and soft where they merge.
Finishing touches for golden color
An egg wash (one egg beaten with a teaspoon of water or milk) brushed lightly on the surface promotes browning and shine. A sprinkle of coarse sugar adds texture and visual appeal. For savory biscuits, a milk wash works well. Avoid heavy washes, which can cause the surface to burn before the interior crisps.
Best Practices
Reliable information and consistent habits lead to better long-term outcomes. The following practices separate average biscuits from exceptional ones.
- Weigh your ingredients. Volume measurements vary wildly. A digital scale ensures the same ratio every time. One cup of flour can weigh anywhere from 120 to 150 grams depending on how it is scooped.
- Use fresh leaveners. Baking soda and baking powder lose potency over time. Test by adding a spoonful to hot water—if it fizzes vigorously, it is still active.
- Keep butter cold and diced. Cold butter creates flaky pockets. Cut it into small cubes and return it to the fridge if the kitchen is warm.
- Do not overmix. Stop mixing as soon as the flour disappears. Overmixing develops gluten, which makes biscuits tough and chewy instead of crisp.
- Preheat fully. Give your oven at least 15 to 20 minutes to reach temperature. An oven thermometer is a cheap investment that reveals if your dial is accurate.
- Bake on light-colored aluminum. Dark nonstick pans absorb more heat and brown the bottoms too quickly. Parchment paper prevents sticking without adding grease.
- Cool completely on a rack. This is the final step in crisping. Do not stack warm biscuits.
- Store properly. Once fully cool, keep biscuits in an airtight container at room temperature for up to five days. Add a piece of bread to soften them if desired, or leave it out for maximum crunch.
Step-by-Step Guide
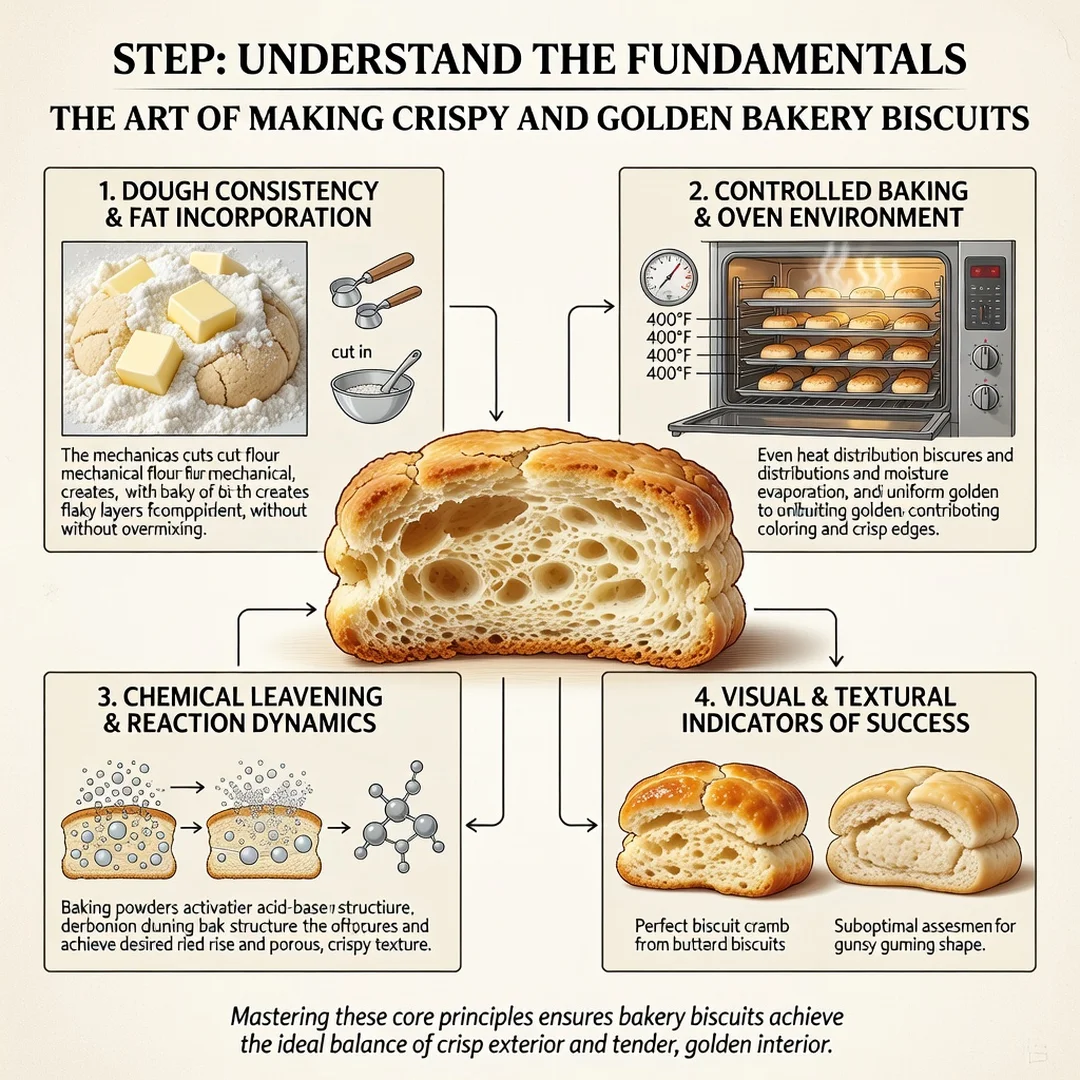
Step 1: Understand the fundamentals
Read through the key concepts above. Identify which factors affect crispness (fat, sugar, hydration, temperature) and which affect color (Maillard reaction, caramelization, egg wash). Write down the three variables you suspect are weakest in your current approach—for example, butter temperature, oven accuracy, or chilling time.
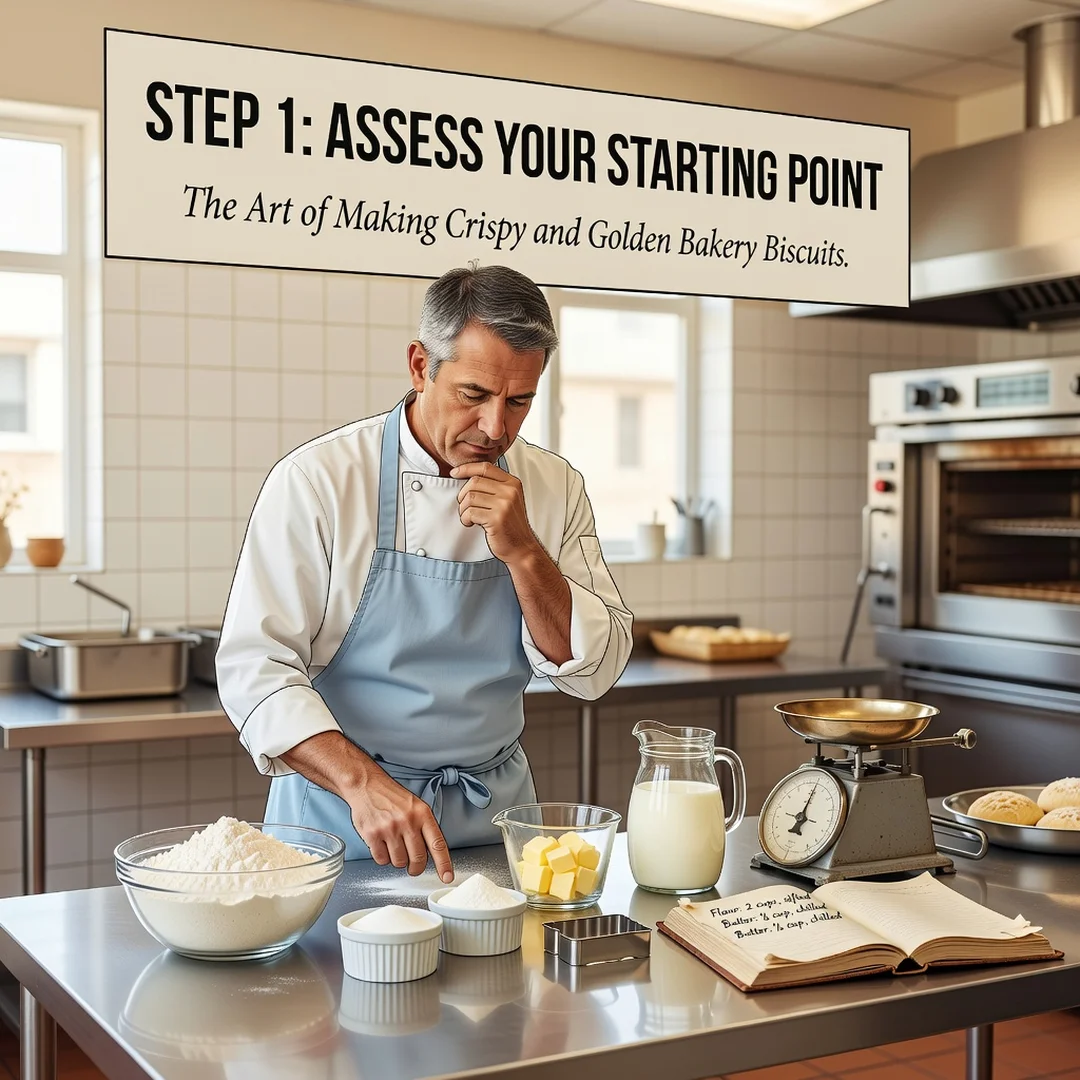
Step 2: Assess your starting point
Bake a small test batch using your current recipe and method. Observe the results objectively: Are the edges pale or golden? Is the center soft or crisp? Do the biscuits spread too much or too little? Note the exact oven temperature, baking time, and dough temperature. This baseline tells you what to change.
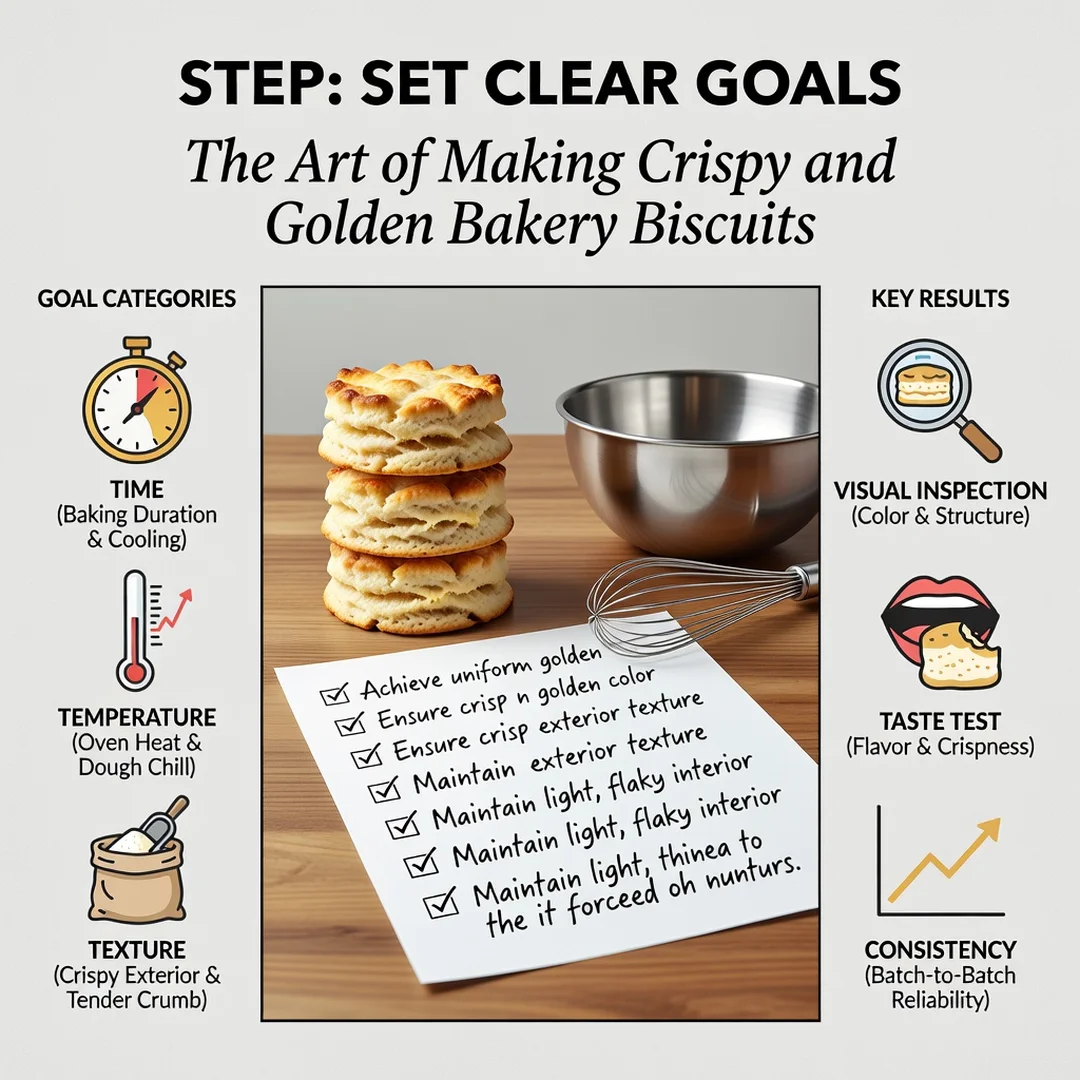
Step 3: Set clear goals
Decide what “perfect” means for your biscuits. Do you want a thin, snappy texture like a ginger snap, or a thicker, shortbread-style crunch? Golden color can range from light honey to deep amber. Write down a specific target: “I want a 4-millimeter-thick biscuit with even golden edges and a crisp center that stays crisp for three days.”
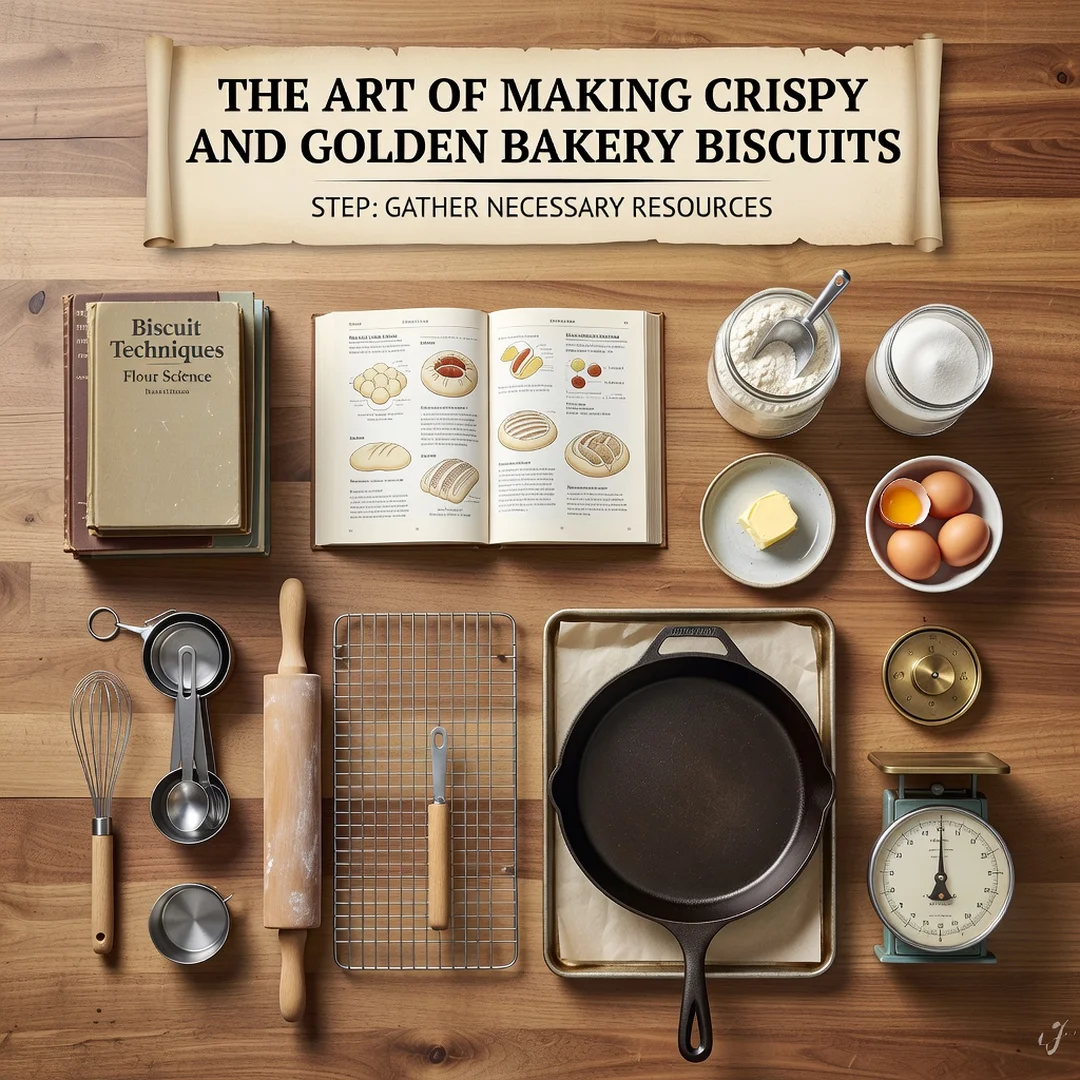
Step 4: Gather necessary resources
Collect your tools and ingredients. You will need a digital scale, a wire cooling rack, parchment paper, light-colored baking sheets, an oven thermometer, and a rolling pin with thickness guides if available. For ingredients, choose fresh butter, accurate flour, and tested leaveners. If your recipe calls for brown sugar, measure it firmly unless otherwise stated.
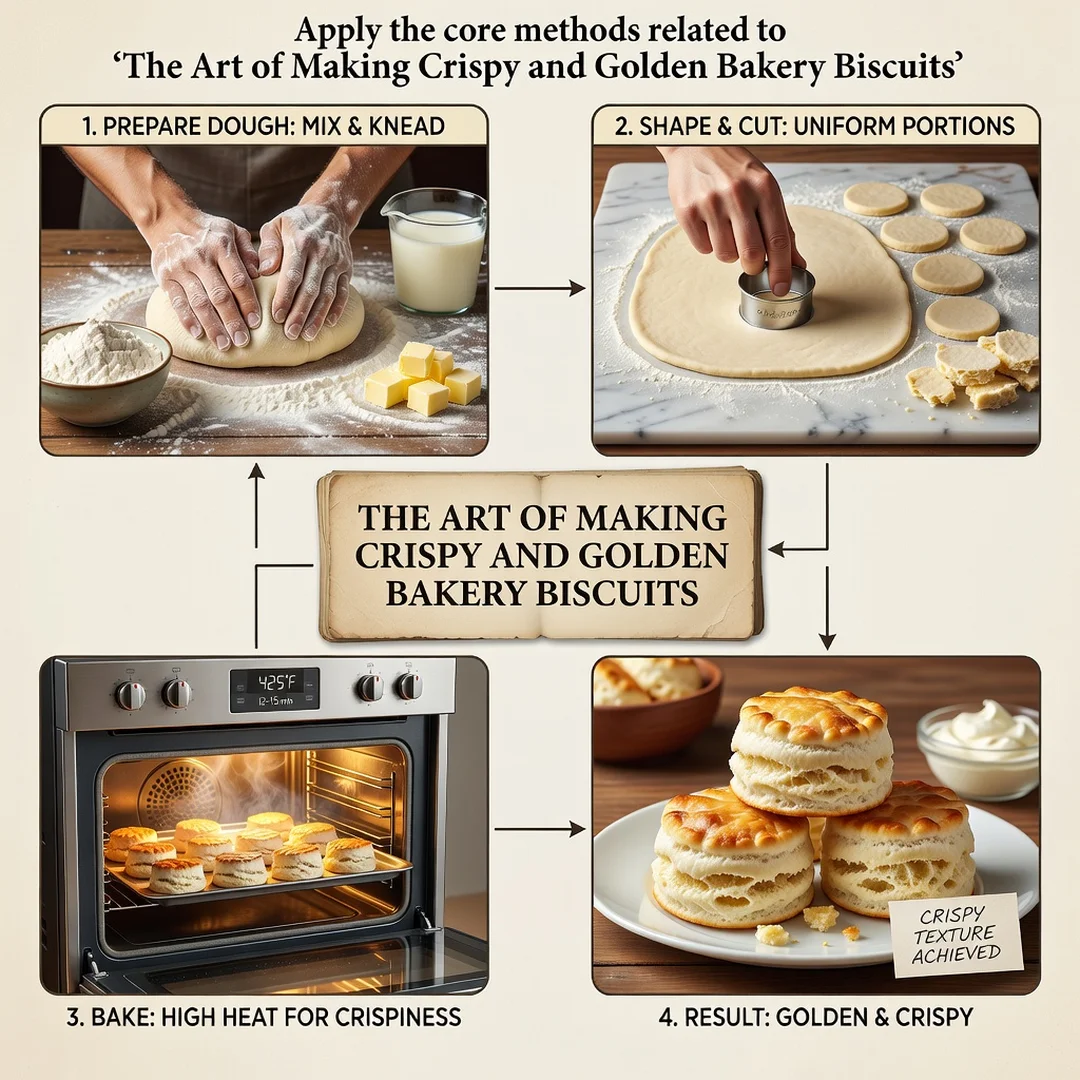
Step 5: Apply the core methods
Follow these actions in order: Cream butter and sugar for two to three minutes. Add eggs and flavorings. Mix dry ingredients separately, then combine with the wet mixture using as few strokes as possible. Chill the dough for at least one hour. Roll to an even thickness, cut shapes, and place on parchment-lined sheets. Brush.
You now have a solid foundation for The Art of Making Crispy and Golden Bakery Biscuits. Apply the best practices above and revisit this guide as your needs evolve.