
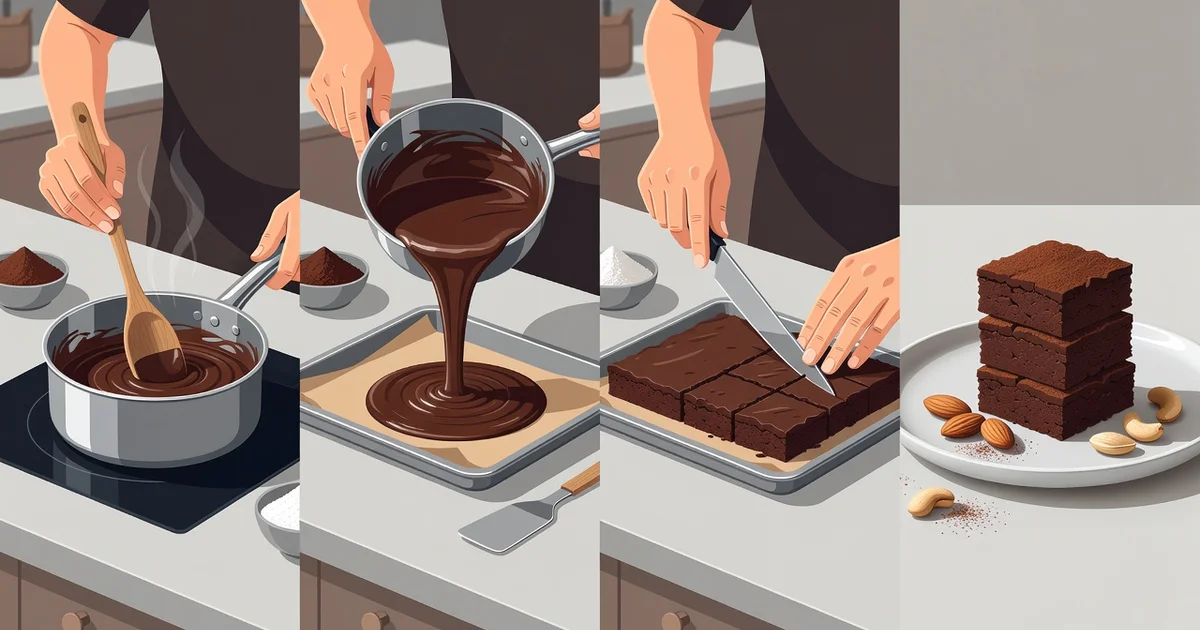
Chocolate barfi is the perfect fusion of rich, velvety chocolate and the classic melt-in-your-mouth texture of traditional Indian mithai. Whether you are celebrating a festival, hosting a gathering, or simply craving something sweet, this indulgent treat is surprisingly easy to make in your own kitchen.
In this guide, we will walk you through how to prepare delicious homemade chocolate barfi step by step. From selecting the right ingredients to mastering the perfect consistency, you will have everything you need to create smooth, flavorful barfi that rivals any sweet shop.
Introduction
Chocolate barfi is a rich, melt-in-the-mouth Indian sweet that combines the traditional milk-based goodness of barfi with the deep, satisfying flavour of cocoa. It is a popular treat during festivals such as Diwali, Raksha Bandhan, and Holi, and it also makes an impressive homemade gift. This article explores How to Prepare Delicious Homemade Chocolate Barfi with clear, practical guidance, so you can enjoy fresh, preservative-free sweets any time you like. Whether you are a complete beginner in the kitchen or someone who has made traditional barfi before, the steps ahead will help you achieve a smooth, fudgy texture and a glossy chocolate finish.
Key Concepts
Before you start heating milk and melting chocolate, it helps to understand a few core ideas. Understanding the fundamentals of How to Prepare Delicious Homemade Chocolate Barfi helps you make informed decisions about ingredients, timing, and texture. Chocolate barfi is essentially a concentrated milk solid (khoya) or milk powder mixture that is sweetened, flavoured with cocoa or melted chocolate, cooked until it leaves the pan, and then set into a firm block. The final texture depends on how much moisture you remove and how you handle the mixture during cooling.
There are two main approaches. The traditional method uses full-fat milk that is simmered and reduced for hours until it becomes khoya. The quicker method uses milk powder combined with ghee and milk to mimic that richness in minutes. Both work well, but the milk powder method is far more reliable for beginners. Cocoa powder gives a darker, more intense chocolate taste, while melted dark or milk chocolate adds creaminess and a smoother melt. Many home cooks use a combination of both for the best results.
Another key concept is the sugar syrup stage. Some recipes add sugar directly and cook the mixture until it thickens, while others prepare a one-string syrup first. For chocolate barfi, the direct method is usually easier and less prone to crystallisation. Finally, setting is critical. The mixture must be spread into a greased tray and allowed to cool completely at room temperature before slicing, otherwise it will crumble.
Deep Dive
Let us look more closely at the ingredients and the science behind a perfect batch. Full-fat milk powder, preferably one with a high protein content, gives body and a milky sweetness. Ghee provides richness and helps the barfi release from the tray. Cocoa powder should be unsweetened and of good quality; cheap cocoa can taste bitter or chalky. If you use melted chocolate, choose a bar with at least 50% cocoa solids for a balanced flavour, or milk chocolate if you prefer a sweeter result. A pinch of salt enhances the chocolate taste, and a teaspoon of vanilla extract rounds out the aroma.
Heat control is where many batches go wrong. Chocolate burns easily, so keep the flame low once the cocoa or chocolate is added. Stir continuously with a heavy spatula, scraping the bottom and corners of the pan. The mixture is ready when it thickens, pulls away from the sides, and forms a soft ball that holds its shape when you press a small portion between your fingers. If you overcook it, the barfi becomes hard and grainy. If you undercook it, it will not set and will remain sticky.
Flattening and garnishing also matter. Press the mixture firmly into the tray with the back of a greased spoon or a small rolling pin. This removes air pockets and creates a dense, even block. While the barfi is still warm, scatter chopped nuts such as pistachios, almonds, or cashews on top and press them gently so they stick. Then leave the tray undisturbed. Refrigeration can speed up setting, but it may cause slight sweating when the barfi returns to room temperature, so room-temperature setting is preferred for the best texture. Once fully set, cut with a sharp, warm knife into squares or diamonds. Wipe the knife between cuts for clean edges.
Best Practices
Reliable information and consistent habits lead to better long-term outcomes, and that is especially true in sweet-making. Follow these best practices to improve your chocolate barfi every time:
- Measure accurately. Use a kitchen scale for the milk powder and sugar. Cup measurements vary too much and can throw off the moisture balance.
- Use a heavy-bottomed pan. Thin pans cause hot spots and burnt chocolate. A non-stick or thick stainless steel pan works best.
- Keep the heat low after adding chocolate. Patience here prevents a bitter, burnt taste.
- Grease the tray generously. Line it with parchment paper for easy removal, leaving an overhang to lift the block out.
- Do not rush the cooling. Let the barfi set for at least three to four hours, or overnight, before slicing.
- Store properly. Keep the cut pieces in an airtight container in a cool, dry place. They stay fresh for about a week. For longer storage, layer them with parchment paper in the fridge.
- Adjust sweetness to taste. The first time you make it, note how sweet it turns out and reduce the sugar slightly next time if you prefer a darker chocolate flavour.
Another good habit is to prepare all ingredients before you turn on the stove, often called mise en place. Chocolate barfi moves quickly once the cooking starts, and stopping to measure cocoa powder while the mixture is on the flame can lead to burning. Also, taste the mixture just before spreading it. If it tastes flat, add a little more cocoa or a pinch of salt; if it is too thick and dry, stir in a tablespoon of warm milk.
Step-by-Step Guide
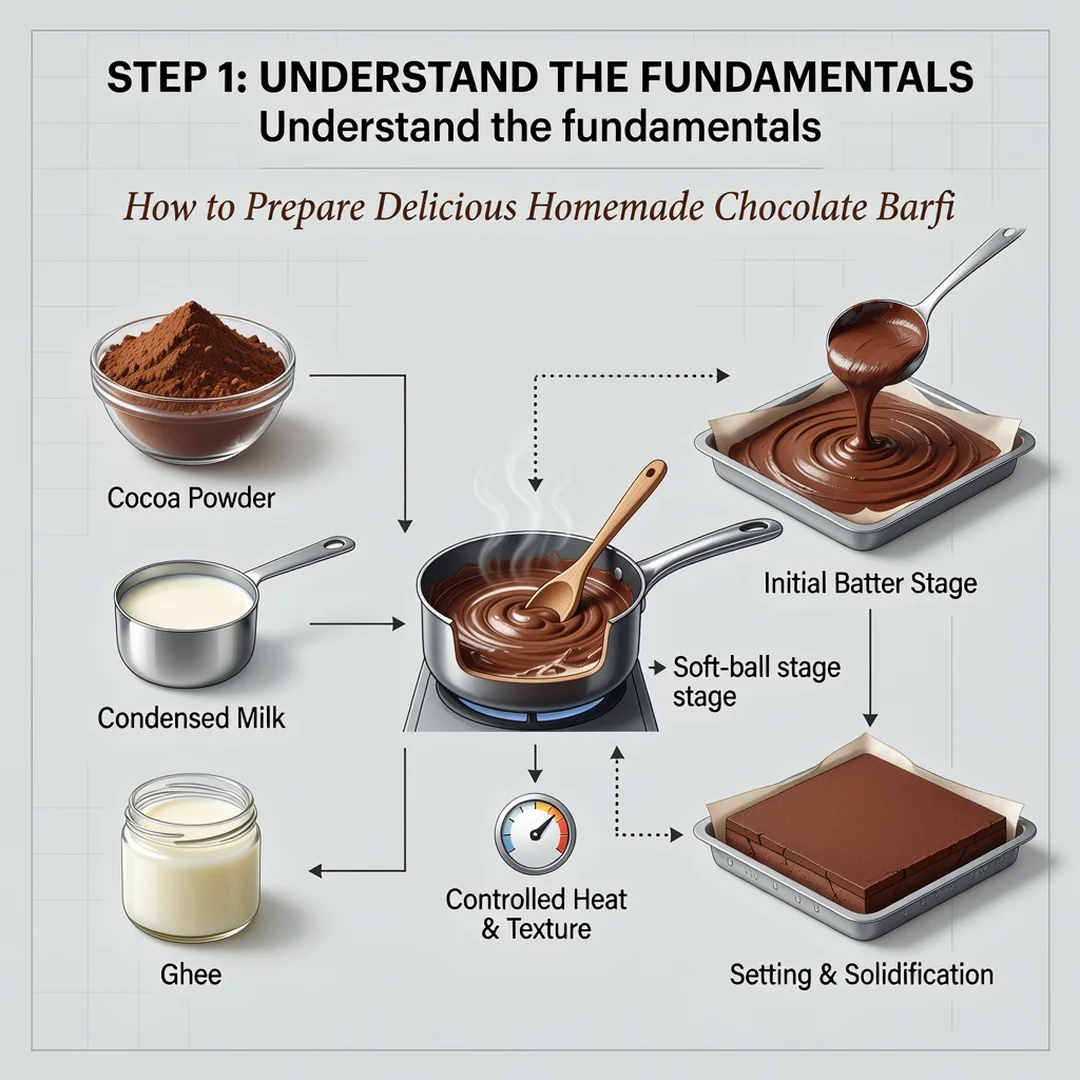
Step 1: Understand the fundamentals
Before you begin, review the basic principle: you are reducing a milk-and-sugar mixture until it is thick enough to set, then flavouring it with chocolate. Know that moisture control determines texture, and low heat protects the chocolate. Read the entire recipe once so you are not surprised by any stage.
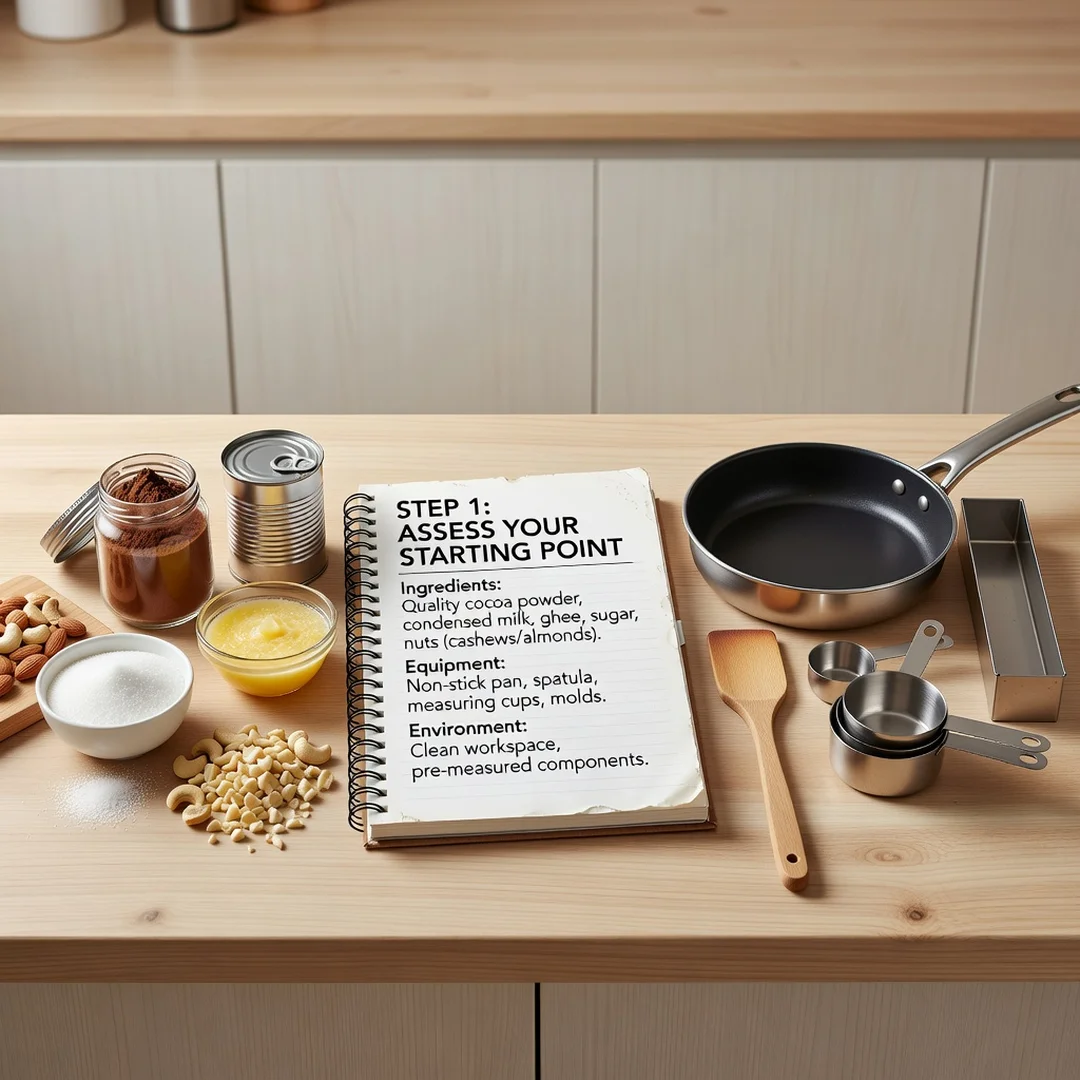
Step 2: Assess your starting point
Check what you have in your kitchen. Do you have full-fat milk powder, ghee, cocoa powder, and a heavy pan? If you lack milk powder, you can reduce two litres of full-fat milk to make khoya, though that takes much longer. Decide whether you want a dark, bittersweet barfi or a milder milk-chocolate version. This choice affects which chocolate you buy.
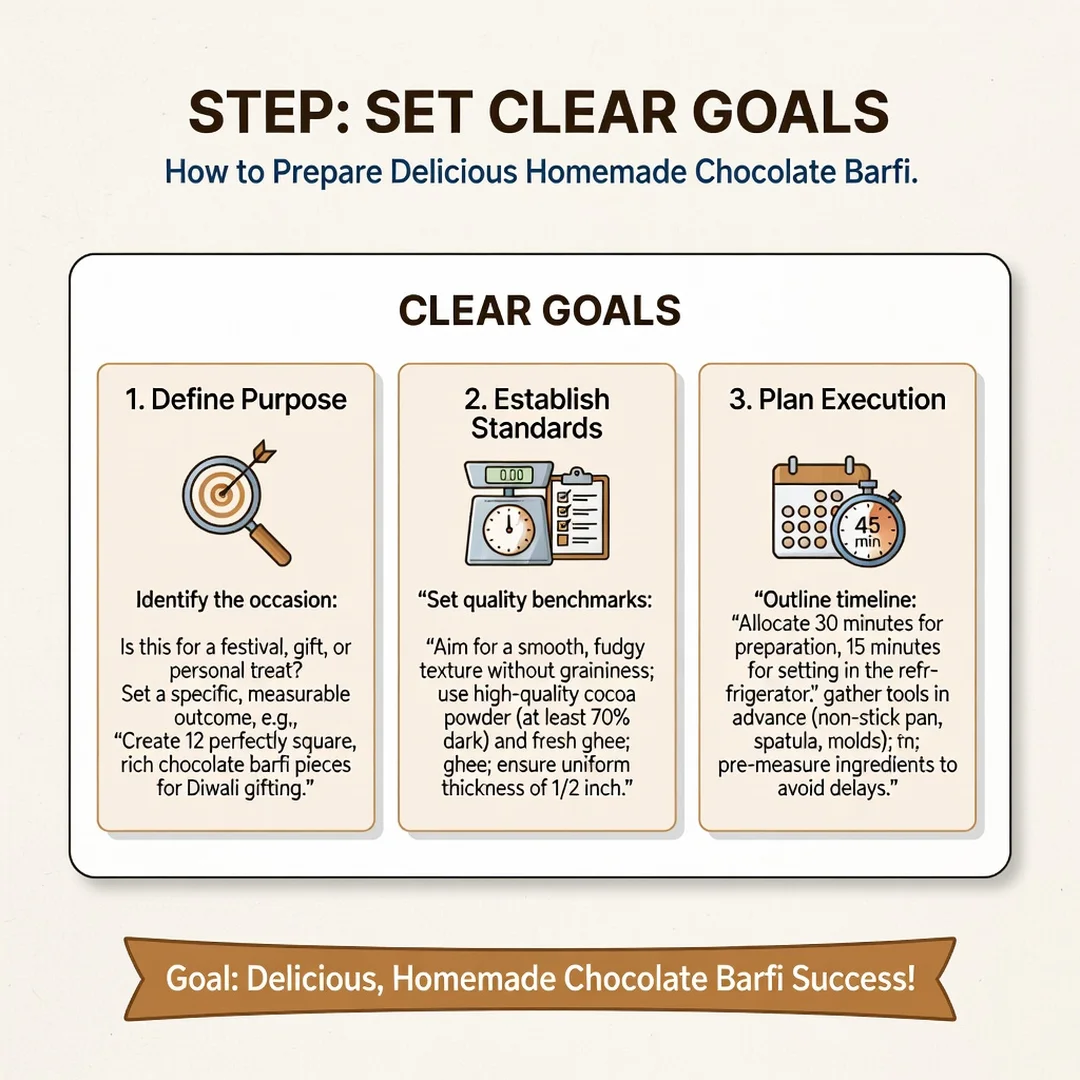
Step 3: Set clear goals
Define what success looks like for you. For a first attempt, aim for a barfi that sets firmly, tastes pleasantly chocolatey, and cuts into clean squares. Do not aim for perfection in appearance; focus on flavour and texture. If you are making it for a festival or gift, plan to make it one day ahead so it has time to set fully.
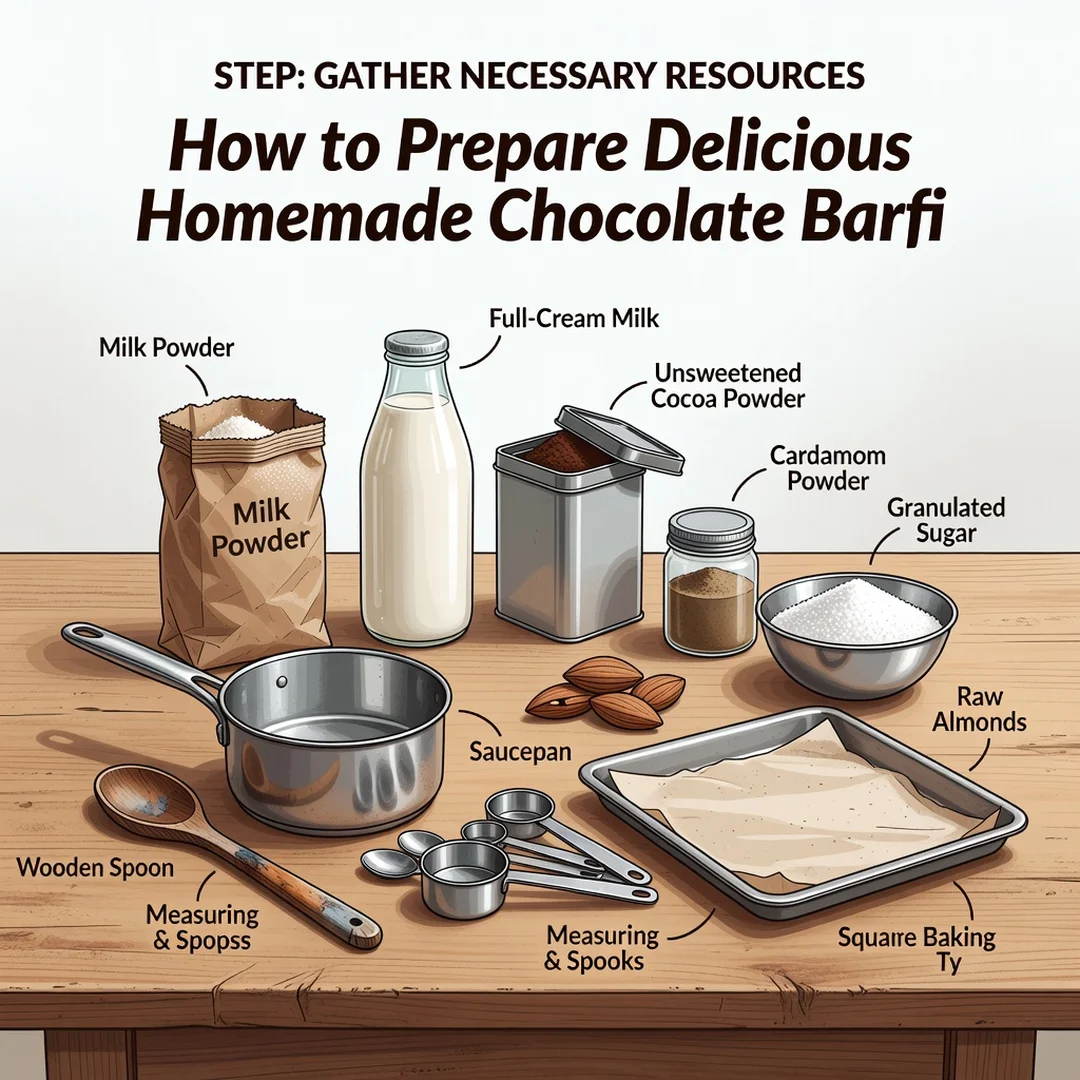
Step 4: Gather necessary resources
Collect these items before starting:
- 1 cup full-fat milk powder
- 1/2 cup powdered sugar (adjust to taste)
- 1/4 cup unsweetened cocoa powder
- 1/4 cup ghee, plus extra for greasing
- 1/4 cup warm milk
- 1/2 teaspoon vanilla extract
- A pinch of salt
- Chopped pistachios or almonds for garnish
- A heavy-bottomed pan, spatula, and a square tray lined with parchment
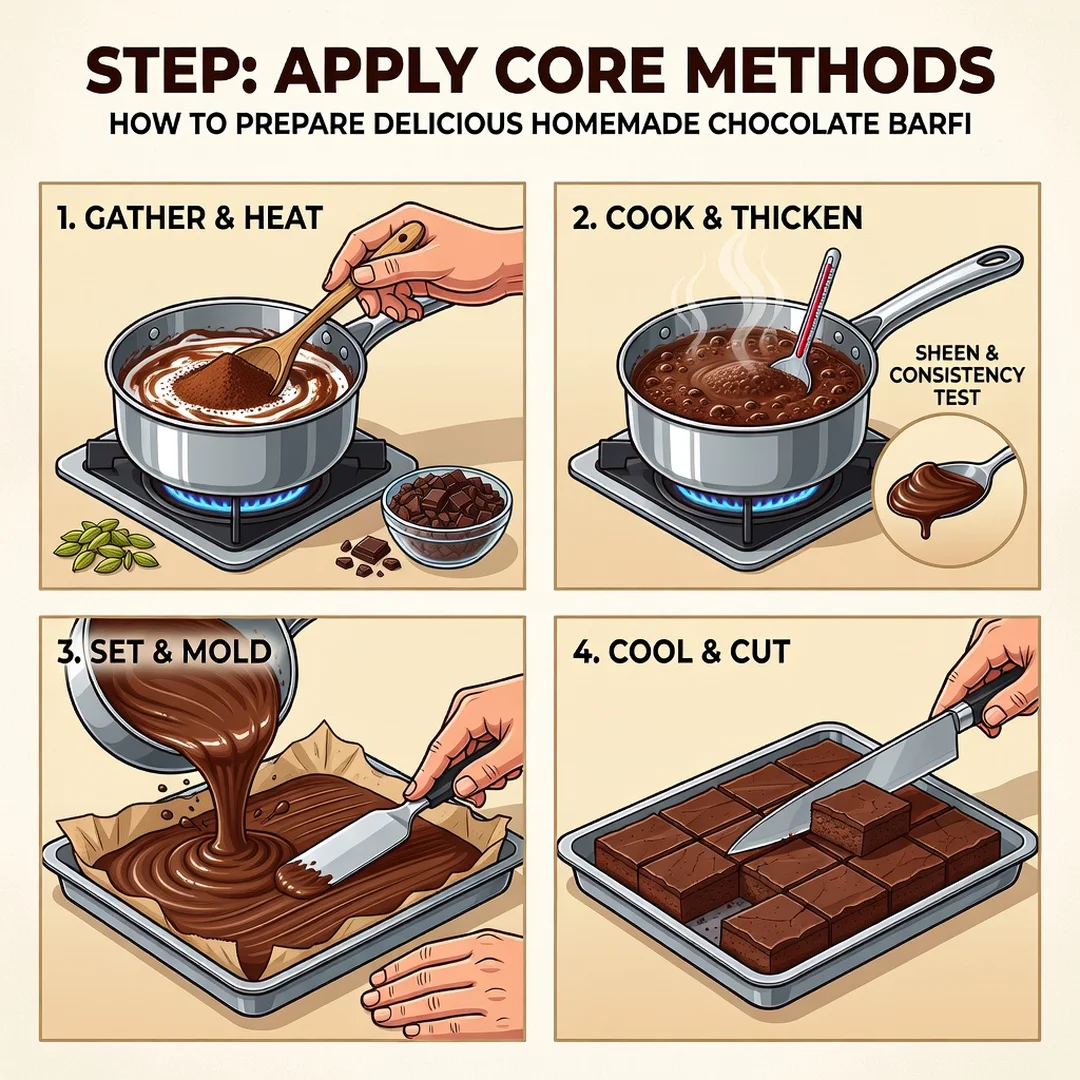
Step 5: Apply the core methods
Heat the ghee in the pan over low heat. Add the milk powder and stir for two minutes until it smells nutty. Pour in the warm milk and keep stirring to form a smooth paste. Add the sugar and cook for three to four minutes until it dissolves. Sift in the cocoa powder and salt, then stir continuously for five to seven minutes. The mixture will darken and thicken. Add the vanilla. When the mixture leaves the sides of the pan and forms a soft ball, switch off the heat. Spread it into the prepared tray, press flat, and sprinkle the nuts on top. Let it set at room temperature for three to four hours. Cut into squares and serve.
FAQ
What should I know about How to Prepare Delicious Homemade Chocolate Barfi?
You should know that the process is simple but sensitive to heat and moisture. The most important things are using full-fat ingredients, keeping the flame low after adding chocolate, and allowing enough time for the barfi to set. You do not need special equipment, and the entire process usually takes under thirty minutes of active cooking. With practice, you will learn to judge.
You now have a solid foundation for How to Prepare Delicious Homemade Chocolate Barfi. Apply the best practices above and revisit this guide as your needs evolve.