
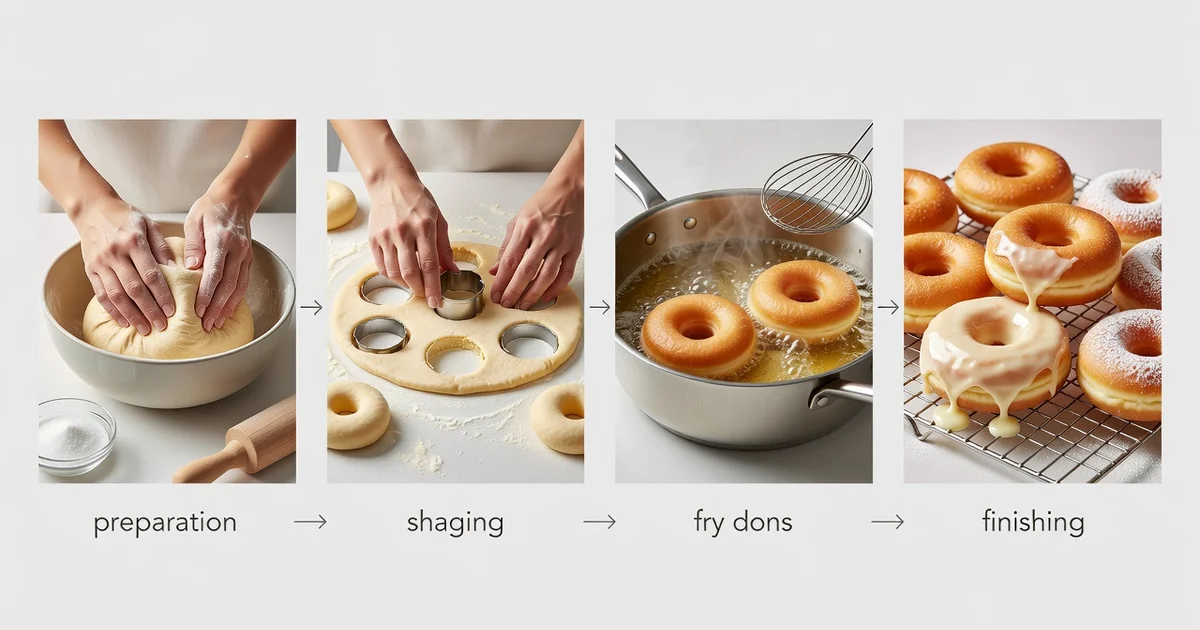
There’s nothing quite like the smell of golden dough frying in your own kitchen. If you’ve ever wanted to master how to make homemade donuts, you’re in the right place. This guide walks you through every step, from mixing the dough to achieving that perfect, airy texture.
With a few simple ingredients and the right techniques, you can create fresh, fluffy donuts that rival any bakery. We’ll cover the essentials—proofing, frying, and glazing—so you can enjoy warm, homemade treats any time the craving strikes.
Introduction
There is something deeply satisfying about biting into a warm, fluffy homemade donut. The crisp exterior gives way to a soft, airy interior, and the sweetness lingers just long enough to make you reach for another. Yet many home bakers avoid donuts because they assume the process is too complicated, too messy, or too unpredictable. In reality, making fresh and fluffy donuts at home comes down to a handful of reliable techniques and a willingness to learn from each batch.
This article explores How to Make Fresh and Fluffy Homemade Donuts with clear, practical guidance. Whether you are a complete beginner or someone who has struggled with dense, greasy results in the past, the information here will help you understand what makes a donut light and tender rather than heavy and tough. You will learn about dough hydration, yeast activity, frying temperature, and the small habits that separate good donuts from exceptional ones.
Understanding the fundamentals of How to Make Fresh and Fluffy Homemade Donuts helps you make informed decisions. Instead of following a recipe blindly, you will know why each step matters. That knowledge is what allows you to adjust when your kitchen is cold, your flour is different, or your oil heats unevenly. Reliable information and consistent habits lead to better long-term outcomes, and donut making is no exception.
Key Concepts
Before you heat a single drop of oil, it helps to understand the core ideas behind fluffy donuts. These concepts apply whether you are making yeast-raised rings or cake-style donuts.
Gluten Development
Gluten is the protein network that gives dough its structure. For fluffy donuts, you want enough gluten to hold the gas produced by yeast, but not so much that the dough becomes tough and chewy. This is why most donut recipes call for a moderate kneading time rather than an intense workout. Over-kneading can turn a light donut into something closer to a bagel.
Yeast and Fermentation
Yeast is a living organism that feeds on sugars and releases carbon dioxide. That gas gets trapped in the dough, creating bubbles that expand during frying. Proper fermentation—often called proofing—is the single biggest factor in achieving a fluffy texture. If the dough is under-proofed, the donuts will be dense. If over-proofed, they may collapse and absorb too much oil.
Frying Temperature
Oil temperature controls how the dough cooks. Too cool, and the donut soaks up grease like a sponge. Too hot, and the outside burns before the inside cooks through. The sweet spot for most yeast donuts is between 350°F and 375°F (175°C to 190°C). A simple kitchen thermometer is one of the most valuable tools you can own.
Dough Hydration
Hydration refers to the ratio of liquid to flour. A slightly wetter dough often produces a lighter, airier crumb because more steam forms during frying. However, wet dough is also stickier and harder to handle. Finding the right balance for your flour and climate is part of the learning process.
Deep Dive
Now that you understand the key concepts, let’s dig into the details that make a real difference in your kitchen.
The Role of Ingredients
Every ingredient in a donut recipe serves a purpose. Flour provides structure. Milk or water adds moisture and helps create steam. Sugar feeds the yeast and browns the crust. Butter or shortening tenderizes the crumb. Eggs add richness and help bind everything together. Salt enhances flavor and controls yeast activity. When you swap ingredients, you change the outcome.
For example, using bread flour instead of all-purpose flour will give you a chewier donut because of its higher protein content. Replacing milk with water will make the crumb slightly less tender. These are not mistakes—they are trade-offs. Knowing them lets you choose the result you want.
Mixing and Kneading
Most yeast donut doughs benefit from a gentle mix followed by a moderate knead. The goal is a smooth, slightly tacky dough that pulls away from the bowl but still sticks a little to your finger. If you use a stand mixer, keep it on low to medium speed and check the dough every minute after the first five. The window between “just right” and “overworked” is smaller than you might think.
Proofing and Shaping
After mixing, the dough needs to rise until roughly doubled in size. This can take anywhere from one to two hours depending on room temperature. Once risen, roll the dough to about half an inch thick and cut your shapes. Arrange the cut donuts on a floured tray, cover them loosely, and let them proof a second time. This second rise is often skipped by impatient bakers, but it is essential for fluffiness.
Frying and Finishing
Heat your oil to the target temperature and fry only a few donuts at a time. Crowding the pan lowers the oil temperature and leads to greasy results. Fry for about one to two minutes per side, until golden brown. Remove with a slotted spoon or tongs and drain on a wire rack or paper towels. Finish with glaze, sugar, or cinnamon while the donuts are still warm so the coating adheres properly.
Best Practices
These habits will help you get consistent results every time you make donuts.
- Weigh your ingredients. A kitchen scale is more accurate than measuring cups, especially for flour. Too much flour is a common cause of dense donuts.
- Use fresh yeast. Old yeast may not proof properly. Always check the expiration date and proof it in warm liquid before adding it to the dough.
- Control your environment. Drafty, cold kitchens slow fermentation. If your kitchen is chilly, let the dough rise in an oven with the light turned on or use a proofing box.
- Monitor oil temperature constantly. Adjust the heat as needed between batches. A thermometer takes the guesswork out of frying.
- Do not rush the second rise. Patience here pays off with lighter, fluffier donuts.
- Practice good sanitation. Wash your hands, clean your counter, and keep raw dough away from finished toppings.
- Keep a baking log. Note the temperature, rise times, and results. Over time, you will develop a personal reference that makes future batches easier.
Step-by-Step Guide
Follow these steps in order to build a solid foundation for making fresh and fluffy homemade donuts.
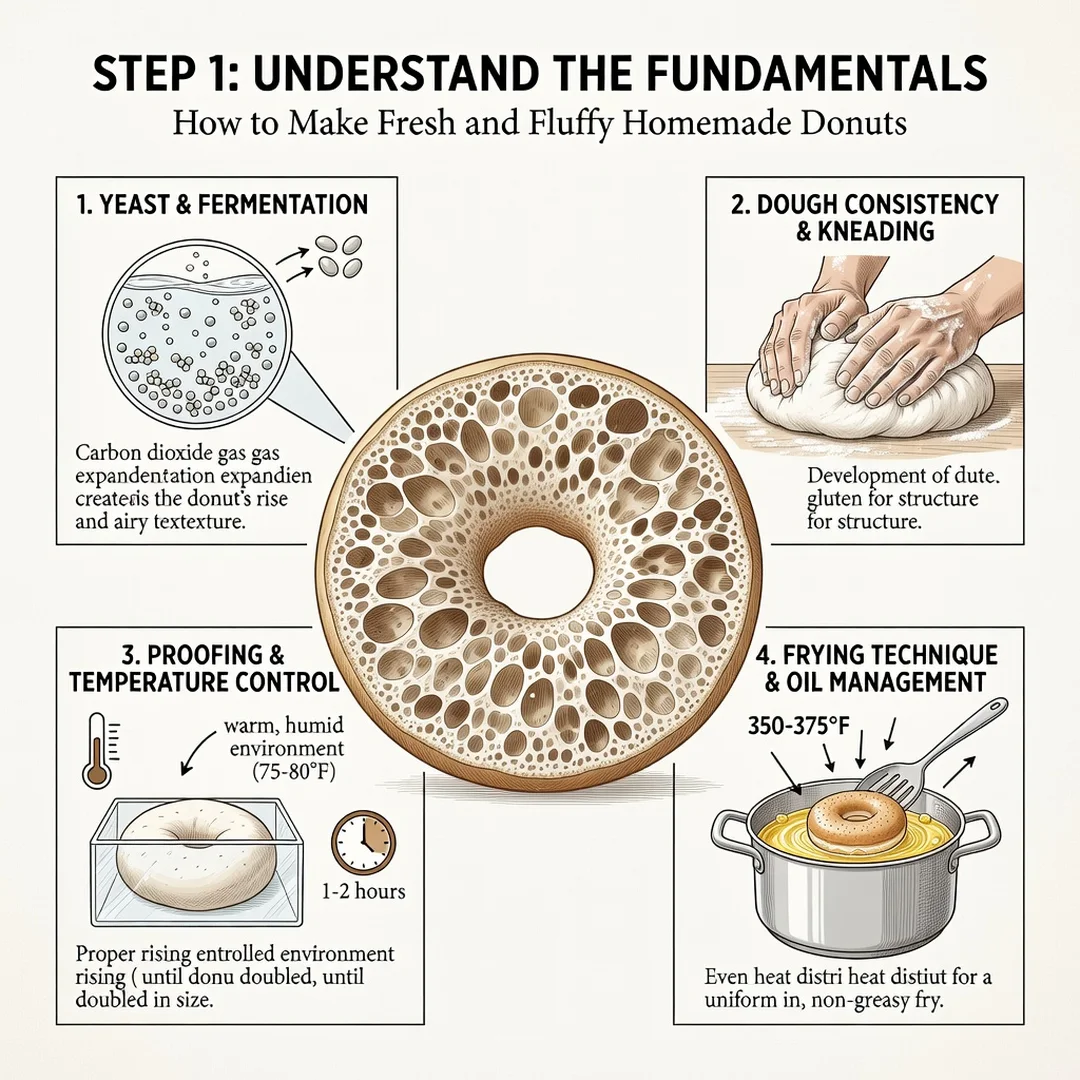
Step 1: Understand the fundamentals
Start by reviewing the roles of gluten, yeast, hydration, and frying temperature. Read through your chosen recipe completely before you begin. Knowing why you are doing something makes it easier to do it correctly.
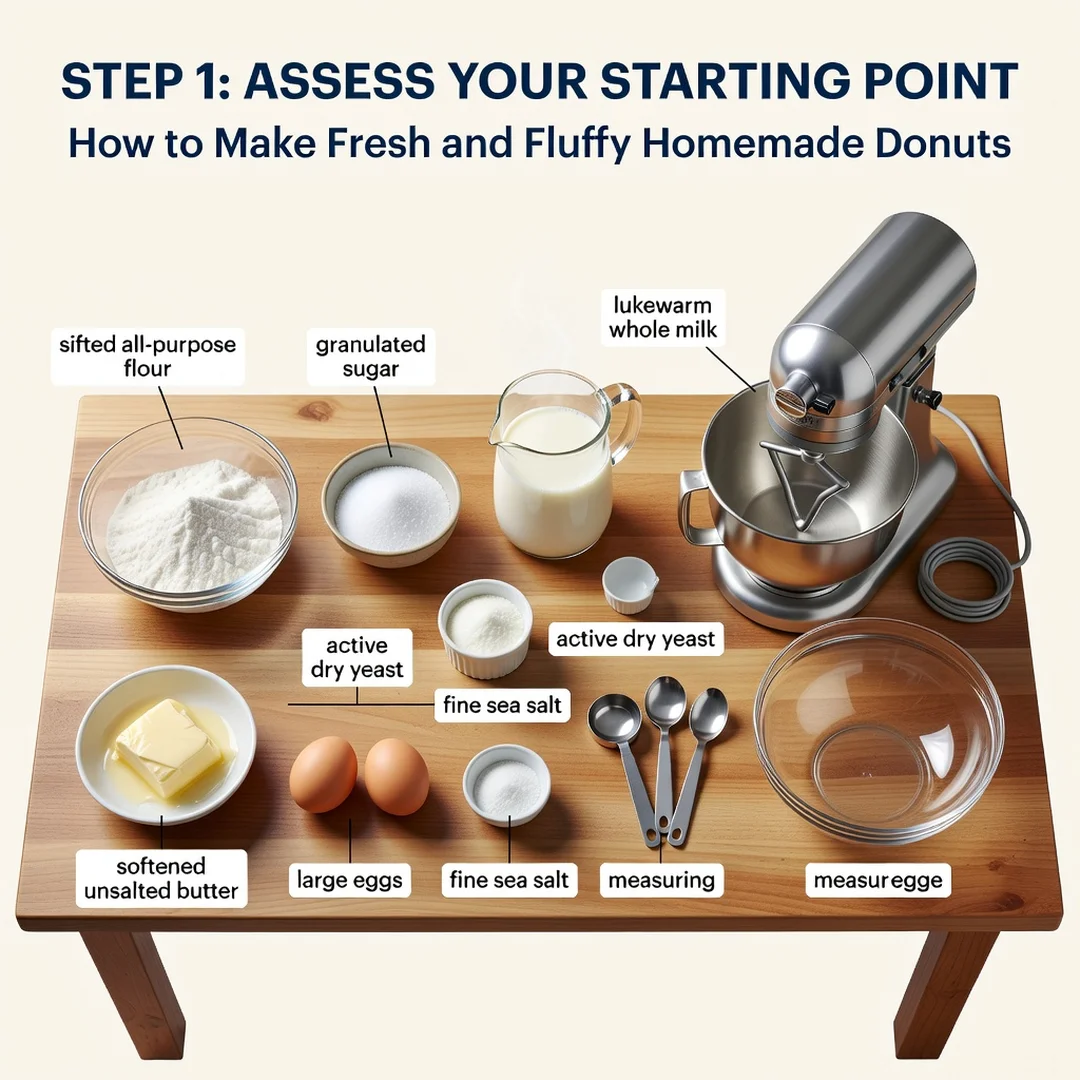
Step 2: Assess your starting point
Check your pantry and equipment. Do you have fresh yeast, a thermometer, and enough oil? Is your kitchen warm enough for dough to rise? Take note of any gaps and plan to fill them before you start mixing.
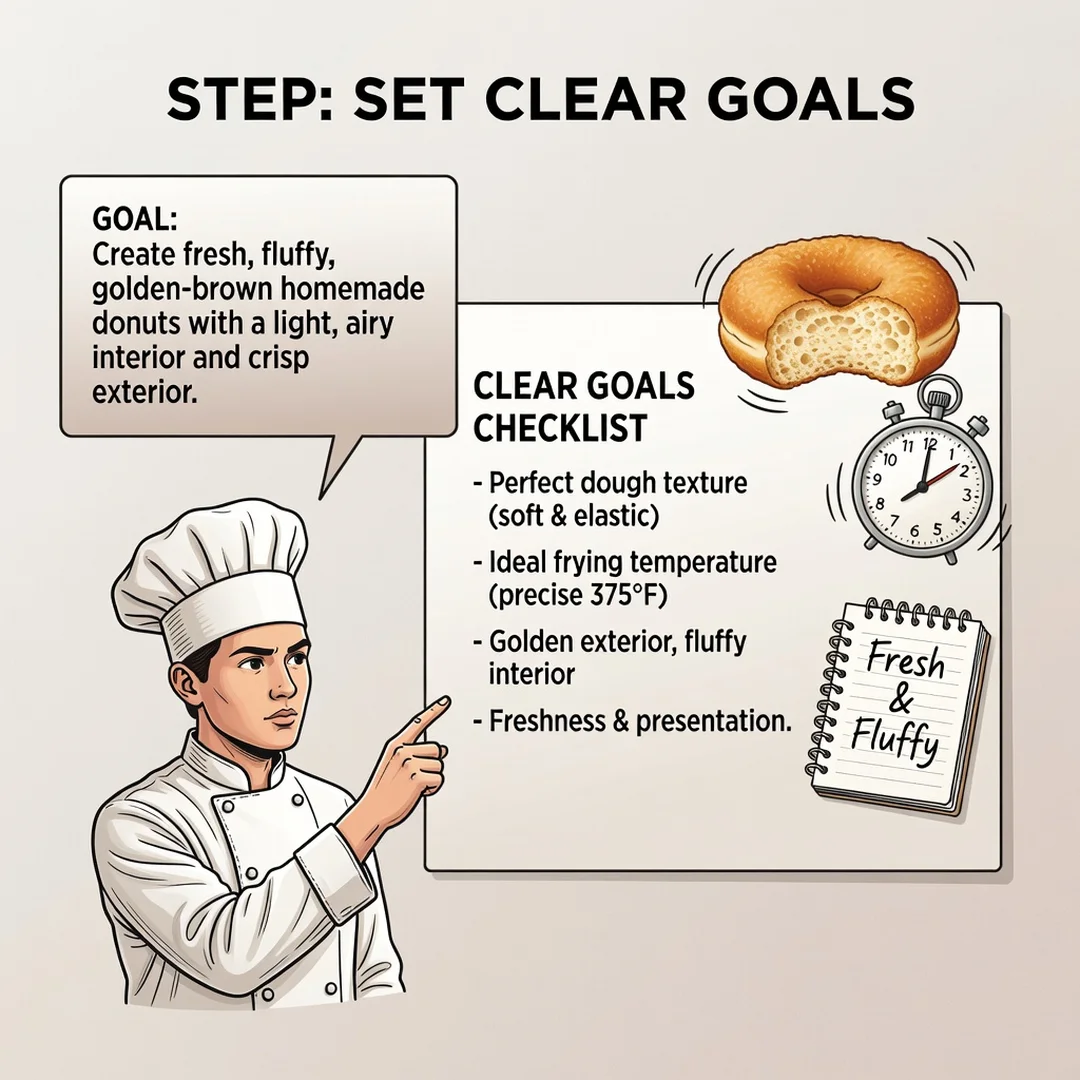
Step 3: Set clear goals
Decide what success looks like for this batch. Maybe you want a lighter crumb, a cleaner glaze, or a shorter total time. Having a specific goal helps you focus your attention and evaluate the results honestly.
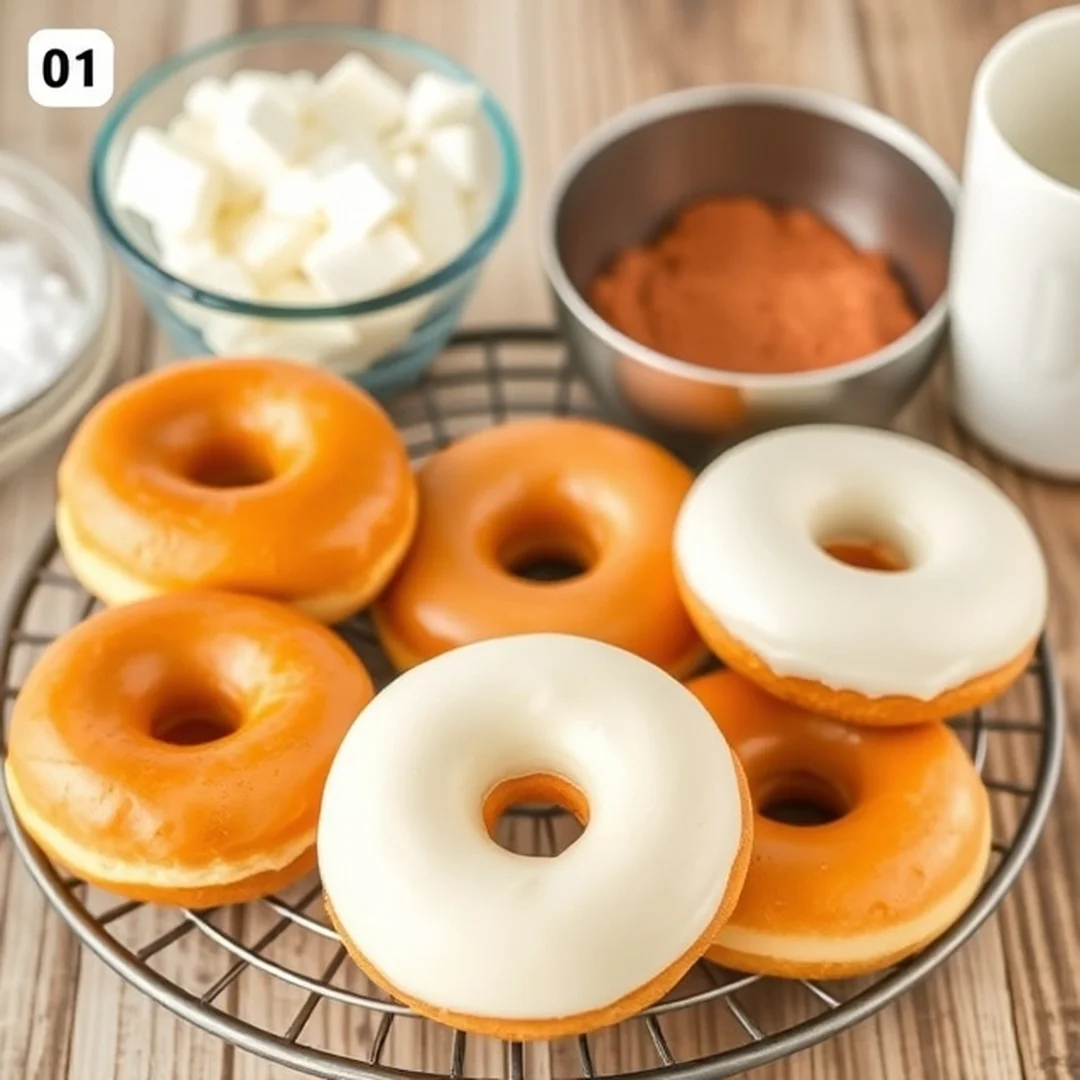
Step 4: Gather necessary resources
Collect all ingredients and tools on your counter before you begin. This includes flour, sugar, yeast, salt, milk, eggs, butter, oil, a rolling pin, a donut cutter, a thermometer, and a cooling rack. Preparation reduces stress and mistakes.
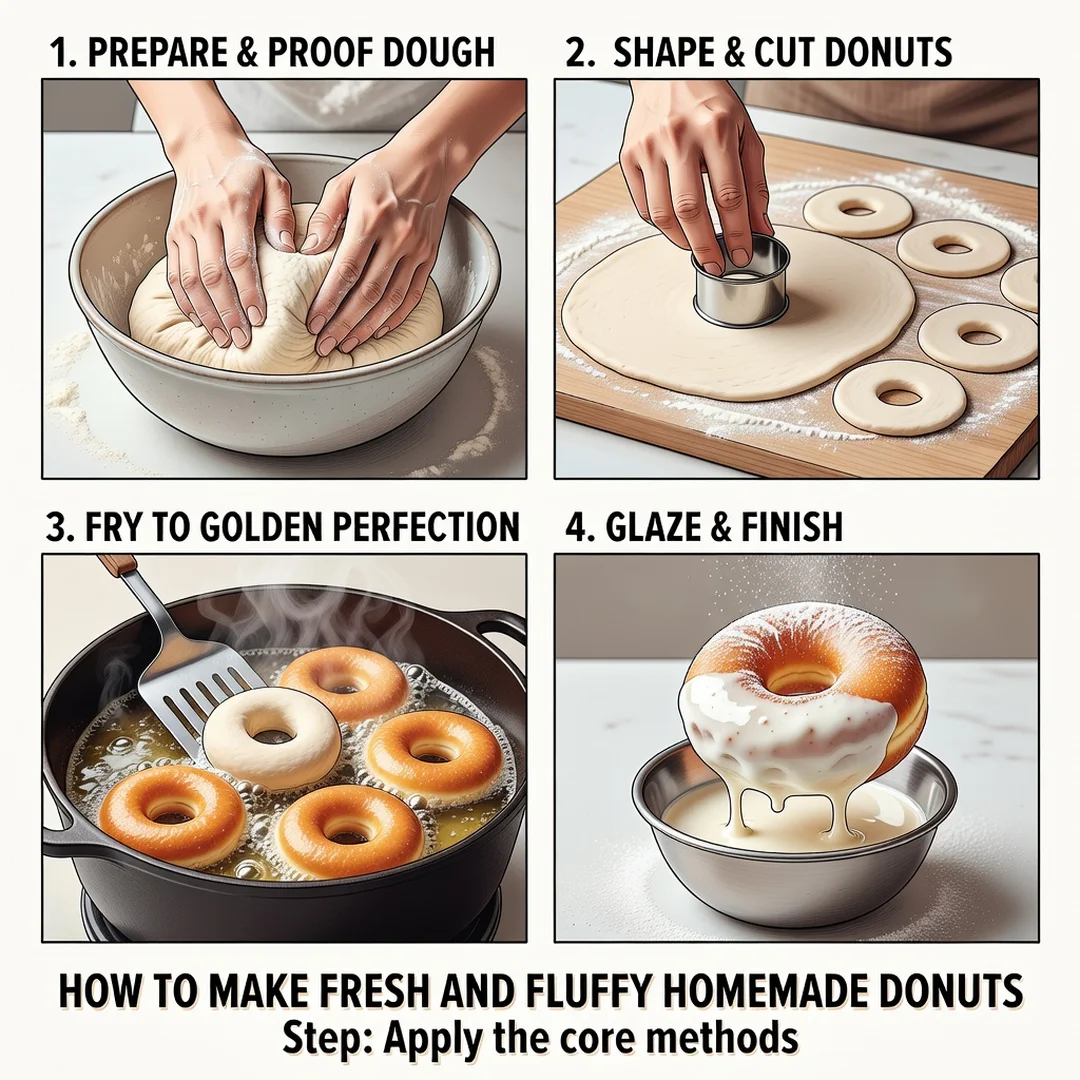
Step 5: Apply the core methods
Mix, knead, proof, shape, proof again, fry, and finish. Follow your recipe’s timings but stay flexible. Watch the dough, not just the clock. Adjust oil temperature as needed and work in small batches for the best texture.
FAQ
What should I know about How to Make Fresh and Fluffy Homemade Donuts?
The most important things to know are that temperature control, proper proofing, and gentle handling of the dough determine whether your donuts turn out fluffy or dense. You also need to use fresh ingredients, especially yeast, and fry at a consistent temperature. Understanding these basics will solve most common problems.
Who is this guide for?
This guide is for home bakers of all skill levels who want to make donuts from scratch. It is especially helpful for beginners who have never fried dough before, as well as for intermediate bakers who want to troubleshoot inconsistent results. No professional equipment is required—just basic kitchen tools and a willingness to practice.
Conclusion
Making fresh and fluffy homemade donuts is a skill that improves with.
You now have a solid foundation for How to Make Fresh and Fluffy Homemade Donuts. Apply the best practices above and revisit this guide as your needs evolve.