
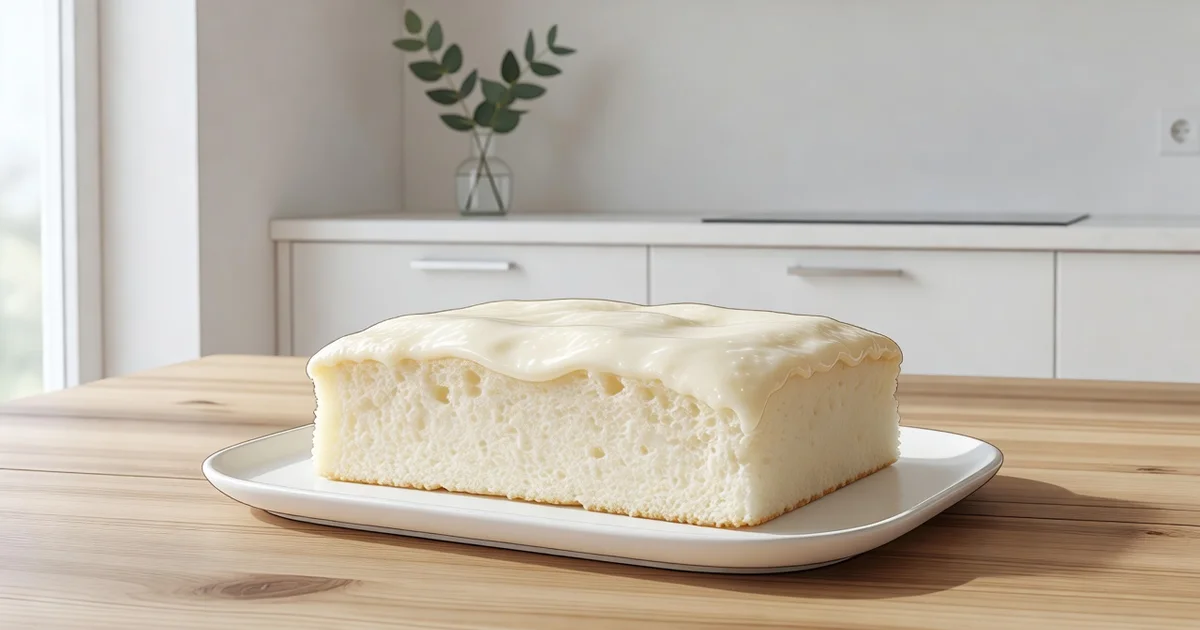
If you have ever sliced into a bakery-style milk cake and wished you could recreate that tender, melt-in-your-mouth crumb at home, you are in the right place. Learning how to make perfectly soft milk cake is simpler than it looks, and it starts with a few key techniques that make all the difference.
This guide walks you through every step, from choosing the right ingredients to mastering the mixing and baking process. Whether you are a beginner baker or a seasoned home cook, you will find clear, actionable tips to help you achieve a moist, delicious milk cake every single time.
Introduction
A perfectly soft milk cake is one of those desserts that feels like a small miracle. It is tender, milky, and sweet, with a texture that melts in your mouth. If you have ever tried a slice at a bakery and wondered how it stays so moist, the answer is not a secret ingredient or professional equipment. It is a set of reliable techniques and a clear understanding of what makes milk cakes work. This article explores How to Make Perfectly Soft Milk Cake at Home with clear, practical guidance. Whether you are a beginner baker or someone who has struggled with dry, dense cakes, the steps ahead will help you achieve consistent results.
Milk cake, in the context of this guide, refers to a soft sponge or butter cake that features milk as a primary liquid and often includes milk powder, warm milk, or a milk soak. The goal is a crumb that is fine but fluffy, a crust that is barely there, and a flavor that is gently sweet and dairy-forward. The good news is that the process is forgiving once you understand the fundamentals. Understanding the fundamentals of How to Make Perfectly Soft Milk Cake at Home helps you make informed decisions about ingredients, mixing, and baking. That knowledge is what separates a lucky bake from a repeatable one.
Key Concepts
Before you preheat the oven, it helps to know the core ideas that control the final texture. These concepts are simple, but they are the difference between a cake that is soft and one that is rubbery or dry.
- Emulsification: Milk and fat (butter or oil) need to be combined into a stable mixture. If they separate, the cake can bake unevenly and feel greasy. Room-temperature ingredients blend more easily than cold ones.
- Gluten development: Flour provides structure, but too much mixing develops long gluten strands that make the cake tough. Gentle folding preserves a soft crumb.
- Moisture balance: Milk adds water, which turns to steam during baking and helps lift the cake. But too much liquid can weigh down the batter. Recipes are balanced for a reason.
- Aeration: Creaming butter and sugar, or whipping eggs, traps air bubbles. Those bubbles expand in the oven and create the soft, airy texture you want.
- Oven temperature: An oven that runs hot will set the crust before the center rises, causing a dome or a dry edge. An oven thermometer is a small investment that pays off.
Reliable information and consistent habits lead to better long-term outcomes. That means measuring flour by weight when possible, using the same pan size each time, and keeping notes on what worked.
Deep Dive
Let us look closer at the ingredients and techniques that make a milk cake soft. First, the flour. Cake flour has less protein than all-purpose flour, which means less gluten and a more tender crumb. If you only have all-purpose flour, you can substitute a small amount of cornstarch, but cake flour is the better choice for a delicate milk cake. Second, the milk. Whole milk contributes fat and flavor. Some recipes call for milk powder, which intensifies the dairy taste without adding too much liquid. If you use milk powder, whisk it with the dry ingredients to avoid lumps.
Third, the fat. Butter gives flavor, while oil gives moisture that stays soft even after the cake cools. Many soft milk cake recipes use a combination of both. If you use butter, make sure it is softened but not melted. Melted butter can make the batter greasy and cause the cake to collapse. Fourth, the eggs. Eggs provide structure and moisture. Adding them one at a time and beating well after each addition helps the batter emulsify. If the batter looks curdled, add a tablespoon of flour to bring it back together.
The mixing method matters as much as the ingredients. The reverse creaming method, where you mix the dry ingredients with the butter before adding the liquids, is excellent for soft cakes because it coats the flour particles with fat and limits gluten formation. The traditional creaming method also works if you are careful not to overmix. Either way, stop mixing as soon as the flour disappears. A few small lumps are fine.
Baking is the final variable. Bake on the middle rack, and do not open the oven door during the first two-thirds of the baking time. A sudden drop in temperature can cause the cake to sink. When the cake is done, a toothpick inserted into the center should come out with a few moist crumbs, not wet batter. Let the cake cool in the pan for ten minutes, then turn it out onto a rack. Cooling too long in the pan can make the bottom soggy from trapped steam.
Step-by-Step Guide
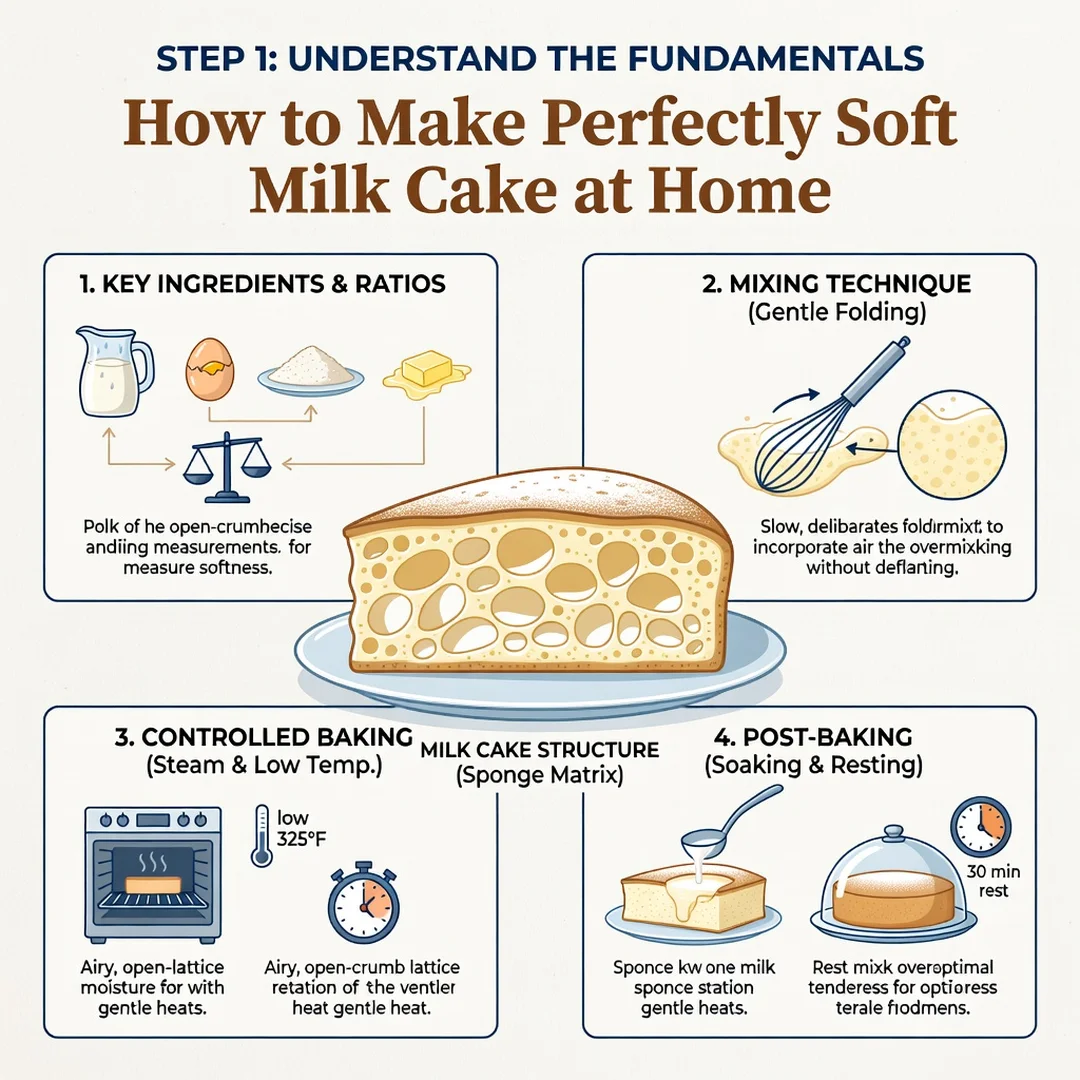
Step 1: Understand the fundamentals
Start by reviewing the key concepts above. Know that softness comes from a balance of fat, liquid, air, and gentle mixing. Read your recipe completely before you begin. Gather your ingredients and let the butter, eggs, and milk come to room temperature. This single habit improves emulsification and helps the cake rise evenly.
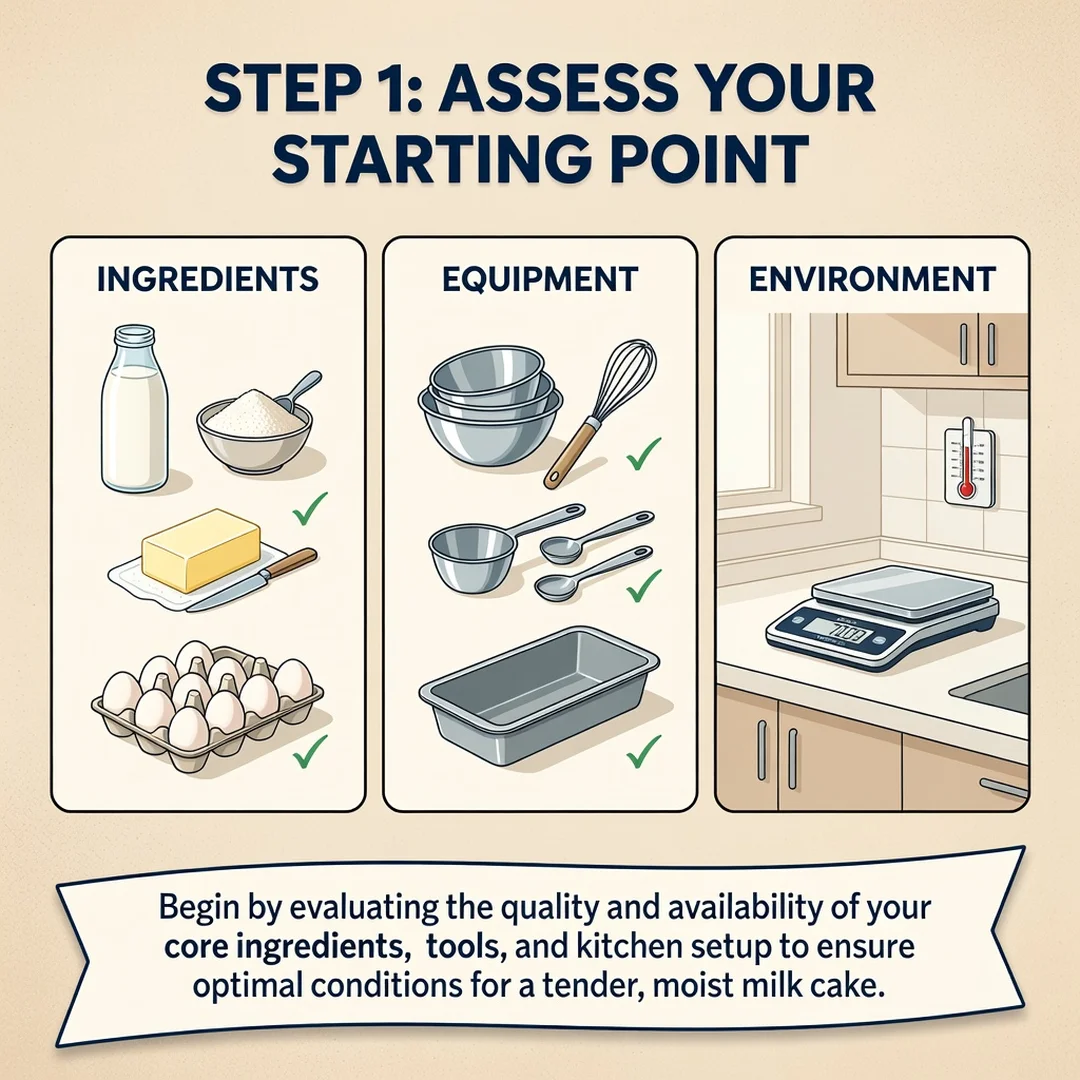
Step 2: Assess your starting point
Look at what you already have. Do you have cake flour or all-purpose? A stand mixer or a hand whisk? An oven thermometer? Write down your current setup and any past issues, such as a dry cake or a sunken center. This assessment tells you what to adjust. If your oven runs hot, plan to reduce the temperature by ten to fifteen degrees and extend the baking time slightly.
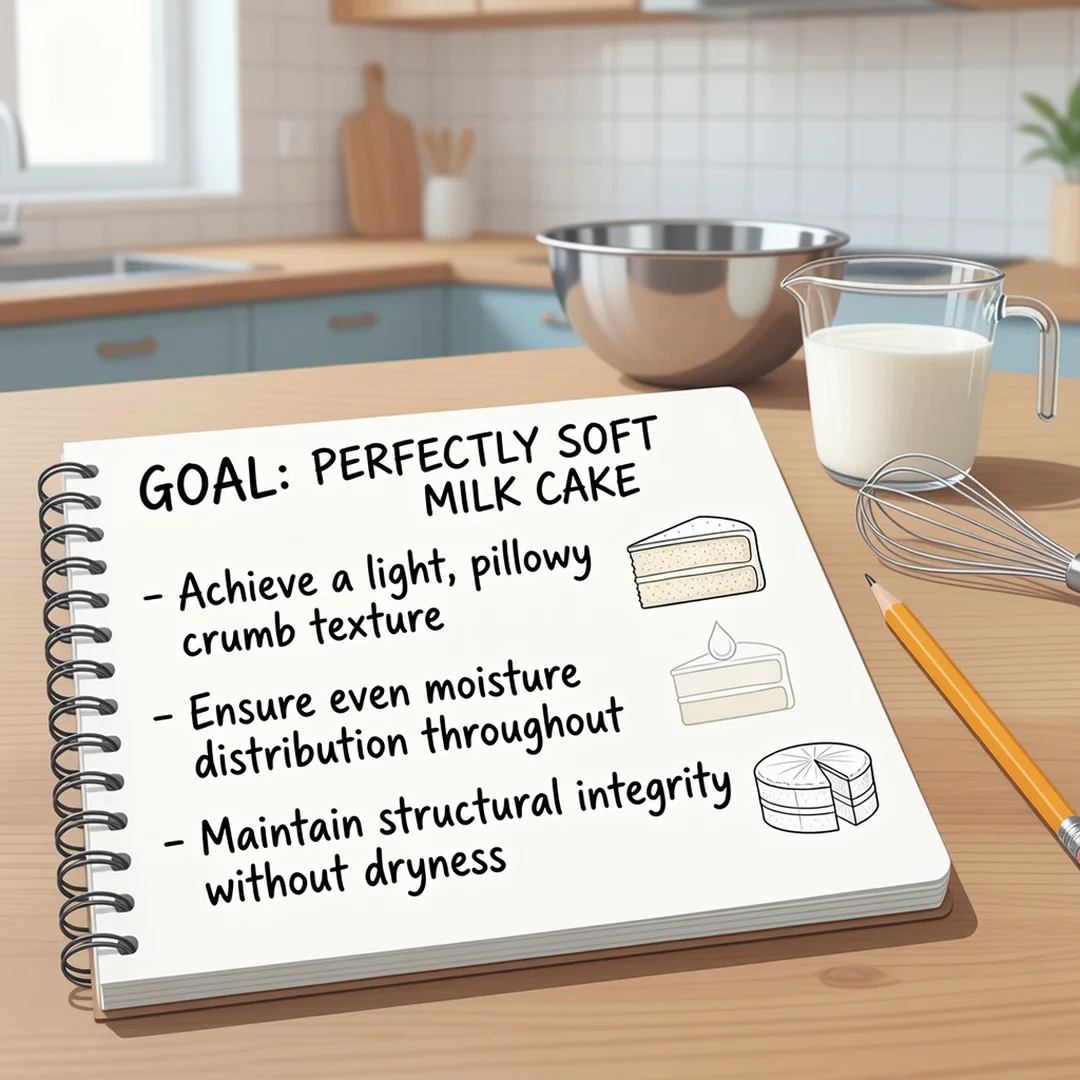
Step 3: Set clear goals
Decide what perfect softness means for you. Do you want a light sponge for layering, or a richer butter cake for snacking? Your goal affects the recipe you choose. For a classic milk cake, aim for a fine crumb, a flat top, and a moist interior that stays soft for two days. Write your goal down and keep it visible while you bake.
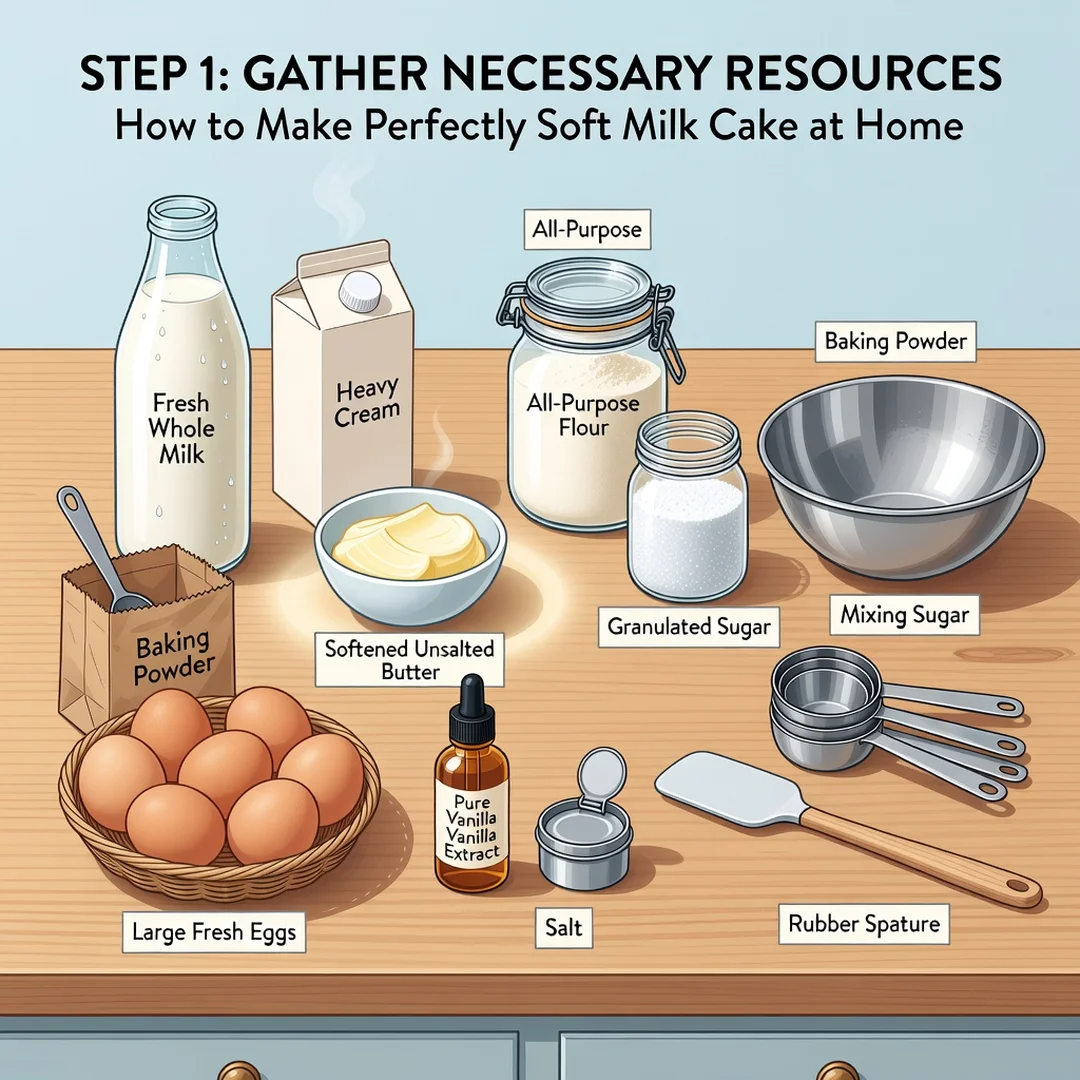
Step 4: Gather necessary resources
Collect your tools and ingredients. You will need a digital scale, measuring cups, a mixing bowl, a whisk or mixer, a rubber spatula, a cake pan, parchment paper, and a cooling rack. For ingredients, you will need flour, sugar, butter or oil, eggs, milk, baking powder, salt, and optionally milk powder and vanilla extract. Preheat the oven and prepare the pan before you start mixing.
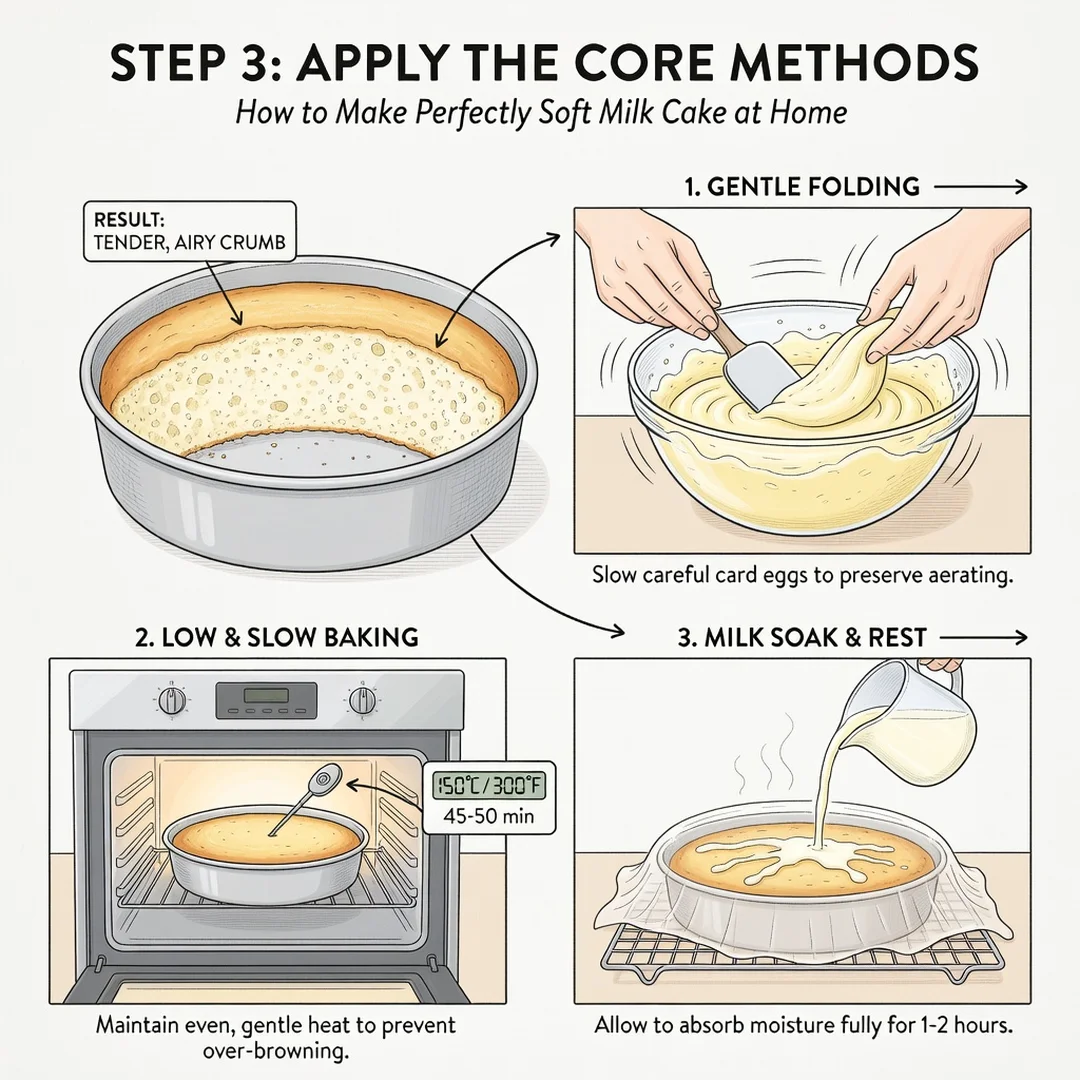
Step 5: Apply the core methods
Follow the recipe with attention to technique. Cream the butter and sugar until pale and fluffy, or use the reverse creaming method. Add eggs one at a time. Alternate adding dry ingredients and milk, beginning and ending with dry. Fold gently. Pour the batter into the prepared pan and smooth the top. Bake until the center springs back lightly when touched. Cool, then serve. Taste a slice and note the texture. If it is slightly dry, brush the top with warm milk or a simple syrup. If it is dense, you likely overmixed or used too much flour.
Best Practices
- Measure accurately: Use a scale for flour and sugar. A cup of flour can vary by 20 percent or more depending on how it is scooped.
- Do not overmix: Stop as soon as the flour is incorporated. Overmixing develops gluten and creates a tough cake.
- Use room-temperature dairy: Cold milk and eggs can seize the butter and break the emulsion.
- Bake on the middle rack: This ensures even heat from the top and bottom.
- Check for doneness early: Start testing a few minutes before the recipe’s suggested time to avoid overbaking.
- Cool properly: Let the cake rest in the pan for ten minutes, then move it to a rack. This prevents sogginess.
- Store well: Keep the cake in an airtight container at room temperature for up to two days, or refrigerate for longer and bring to room temperature before serving.
Consistent habits, such as preheating fully and using the same pan, lead to better long-term outcomes. Keep a baking log with notes on time, temperature, and texture.
FAQ
What should I know about How to Make Perfectly Soft Milk Cake at Home?
The most important thing to know is that softness depends on gentle mixing,.
You now have a solid foundation for How to Make Perfectly Soft Milk Cake at Home. Apply the best practices above and revisit this guide as your needs evolve.