
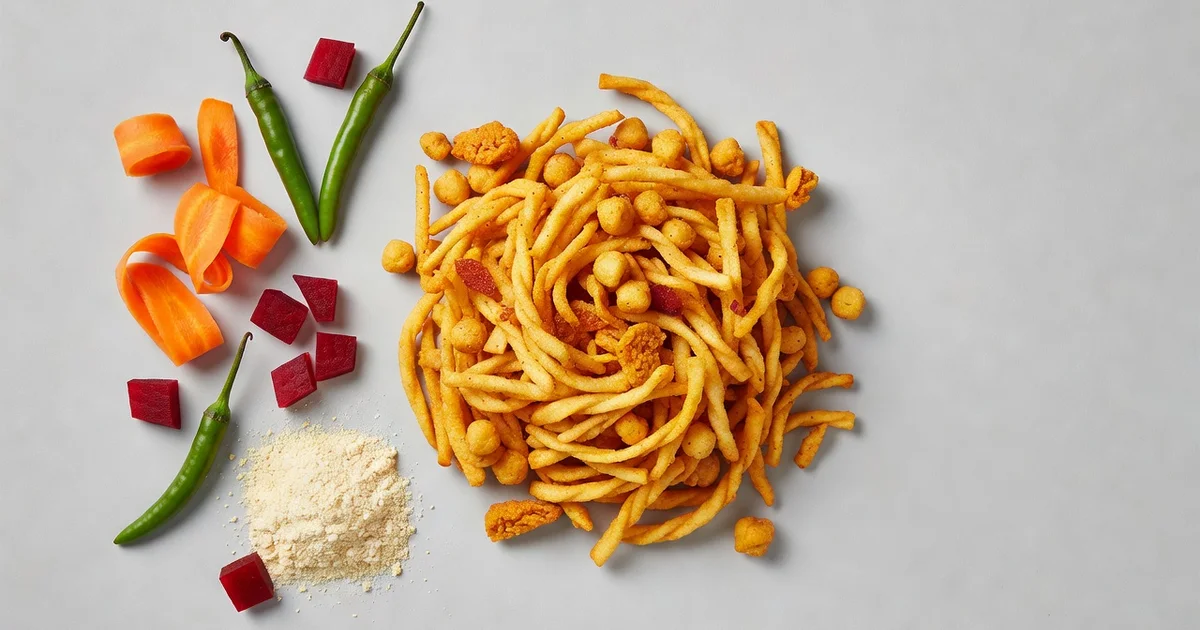
Nothing beats the satisfying crunch of fresh, homemade nimko. Whether you’re hosting a gathering or simply craving a flavorful snack, making perfectly crispy homemade nimko at home gives you full control over the ingredients, spice level, and freshness—no store-bought version can compete.
In this guide, you’ll discover the key techniques for achieving that ideal golden crunch every time, from choosing the right lentils and nuts to mastering the frying and seasoning process. With a few simple steps, you’ll be creating irresistibly crispy homemade nimko that keeps everyone reaching for more.
Nimko — also spelled nimkin, namkeen, or simply Indian snack mix — is one of those foods that lives or dies by its texture. A bowl of nimko should deliver a loud, satisfying crunch in every spoonful, whether it is a simple mix of fried lentils and peanuts or an elaborate blend of sev, boondi, flattened rice, and cashews. The problem most home cooks run into is that homemade nimko turns soft within hours. Moisture creeps in, the oil feels heavy, and what started crisp becomes chewy. This article explores how to make perfectly crispy homemade nimko with clear, practical guidance you can apply the very first time you try it.
Introduction
Nimko is a spiced, savoury snack mix that varies enormously from region to region. In Gujarat and Maharashtra you will find fine sev and crunchy lentils; in Punjab the mix leans toward fried peanuts and chickpea flour noodles; in South India a version called mixture includes curry leaves and fried gram. What almost every variation has in common is the goal of sustained crispness. A nimko that goes soggy defeats the purpose, and the difference between a batch that stays crunchy for a week and one that collapses by evening usually comes down to a handful of technique decisions.
Crispiness is not luck. It is the predictable result of controlling moisture, heat, and oil. Once you understand how those three forces interact with your ingredients, you can adapt any nimko recipe and still get a reliably crunchy result. This guide walks through the fundamentals, the deeper chemistry, the best habits, and a step-by-step method you can follow today.
Key Concepts
Before you switch on the stove, it helps to grasp a few concepts that govern every crispy snack. Understanding the fundamentals of how to make perfectly crispy homemade nimko helps you make informed decisions rather than following a recipe blindly.
Moisture is the enemy
Crispness is essentially the absence of free water in a food’s structure. When nimko is exposed to humid air or packed while still warm, water molecules migrate back into the fried pieces and soften the starch network. Every good technique in nimko making is ultimately aimed at keeping moisture out.
Oil temperature controls texture
If the oil is too cool, the ingredients absorb fat and turn greasy and limp. If it is too hot, the outside burns before the inside dries out, leaving a raw, chewy centre. The sweet spot for most nimko components sits between 160°C and 180°C (320°F–355°F), adjusted per ingredient.
Drying is part of cooking
Frying does two jobs at once: it cooks the food and it drives water out. The visible bubbles you see around a piece in hot oil are steam escaping. When the bubbles slow to a trickle, the piece has largely finished drying and is approaching peak crispness.
Seasoning sticks to oil, not to dry surfaces
Spices cling best when there is a thin film of oil on the surface. Toss your seasoning immediately after draining, while the pieces are still glistening, not hours later when they are bone dry.
Deep Dive
Different components of a nimko mix behave differently, and treating them all the same is the most common cause of uneven results. Let us break down the major players.
Lentils and legumes
Split chana dal, moong dal, and masoor dal all need soaking before frying. Soaked lentils hold less oil and cook more evenly. Soak them for four to six hours, drain thoroughly, pat dry with a clean cloth, and fry at a moderate temperature. If they hiss aggressively as they hit the oil, there is still surface water, which will cause splattering and uneven cooking.
Sev and boondi
These chickpea-flour items are best bought fresh from a reliable supplier or made at home with a sieve or press. Homemade sev stays crisp longer because it is genuinely fresh. Store-bought sev often sits in plastic for weeks and arrives already slightly soft. If you buy it, refresh it in a low oven (about 120°C) for ten minutes before mixing.
Nuts and peanuts
Peanuts and cashews add richness and crunch. Fry them separately from the lentils because they release their oil at different rates and burn faster. Roasting instead of frying is a lighter option and keeps them crisp for longer.
Flattened rice (poha) and murmura
These puffed and flattened grains are already dry and require very little frying. A brief flash in hot oil, or even a dry roast, is enough. Over-frying makes them bitter and brittle.
Balancing the mix
A great nimko balances three textures: hard crunch (lentils, peanuts), light airy crunch (sev, boondi), and a soft savoury counterpoint (fried curry leaves, raisins, or a touch of sweetness). It also balances flavours: salt, tang (citric acid or amchur), heat (chilli), and aroma (asafoetida, cumin).
Best Practices
- Dry everything before frying. Lay soaked lentils on a clean cotton towel and blot until no visible moisture remains. This single step prevents most oil spatter and sogginess.
- Fry in small batches. Crowding the pan drops the oil temperature, which makes food greasy. Keep the pan no more than one-third full of ingredients.
- Use a thermometer. A cheap kitchen thermometer removes the guesswork and keeps you within the ideal temperature band.
- Salt and season immediately. Toss the seasoning within a minute of draining while the oil film is still present.
- Cool completely before storing. Even a tiny amount of residual warmth creates condensation inside the container, and condensation is what makes nimko soft.
- Store airtight with a moisture absorber. A food-safe silica sachet or a few grains of raw rice in the jar can soak up stray humidity.
- Keep it out of the fridge. Cold storage introduces moisture through condensation when the jar is opened. Store nimko in a cool, dark cupboard instead.
- Add delicate items last. Curry leaves and raisins should go in only just before serving if you plan to keep the mix for several days.
Step-by-Step Method
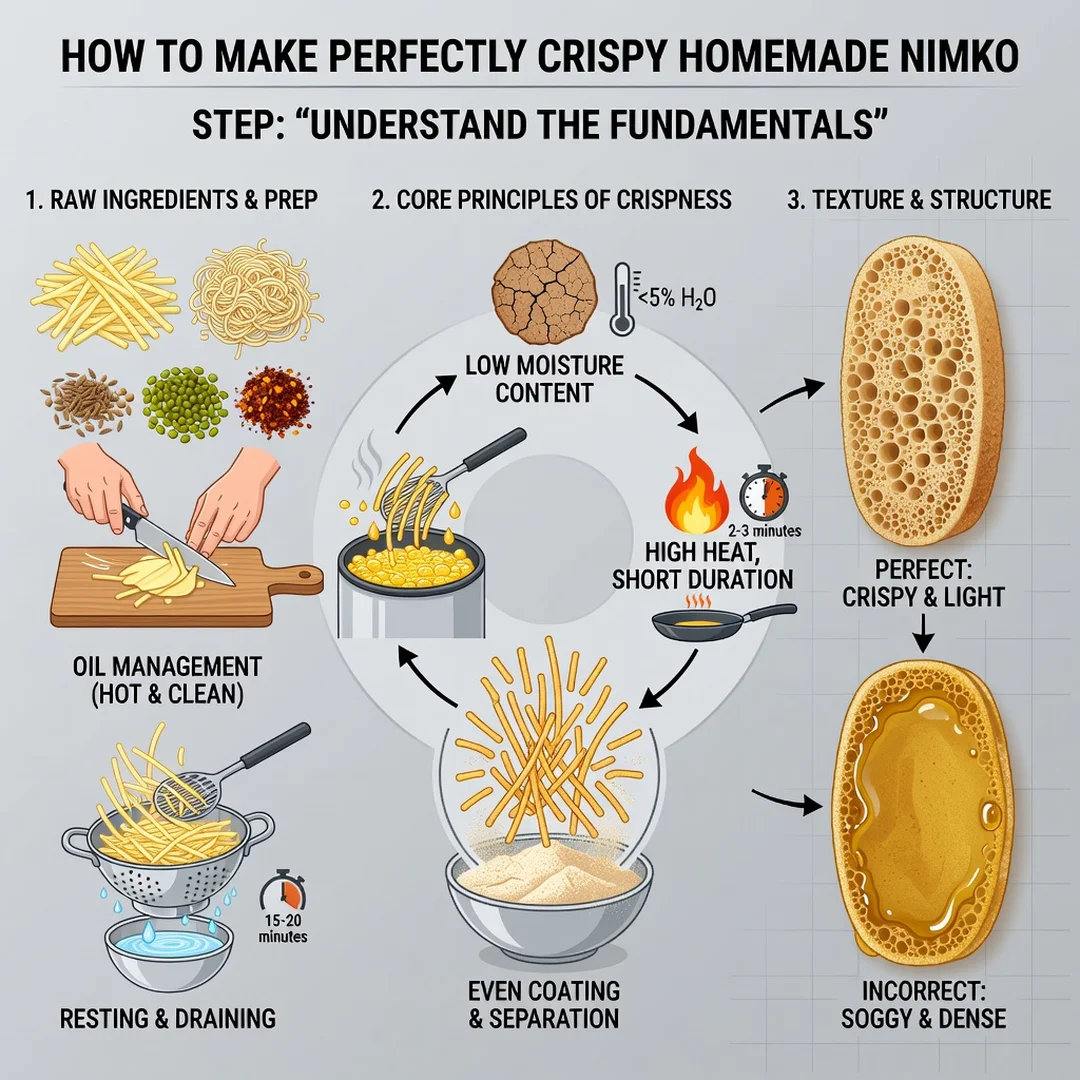
Step 1: Understand the fundamentals
Spend a few minutes reviewing why nimko goes soft. The core principle is simple: crispness equals low moisture, and every stage of the process should protect that state. Know your oil temperature targets, understand that frying is a drying process, and accept that seasoning needs to be applied while the surface is still oily. This mental model will guide every decision that follows.
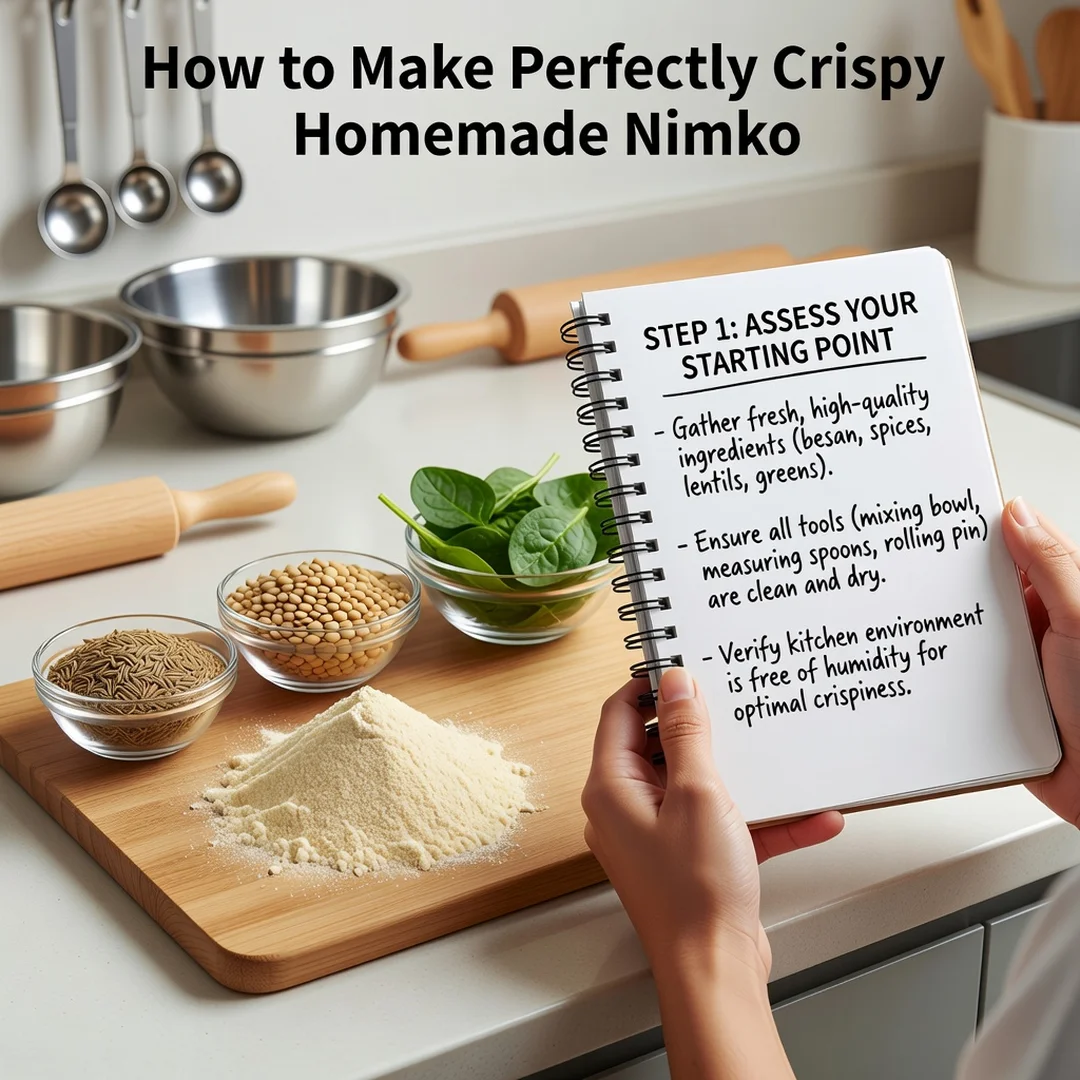
Step 2: Assess your starting point
Take stock of what you already have. Are your lentils soaked, or dry? Is your sev fresh or from an old packet? Do you own a thermometer, a slotted spoon, and a wide heavy pan? Check the humidity in your kitchen — on a rainy day, add extra cooling and drying time. Knowing your starting conditions prevents nasty surprises mid-cook.
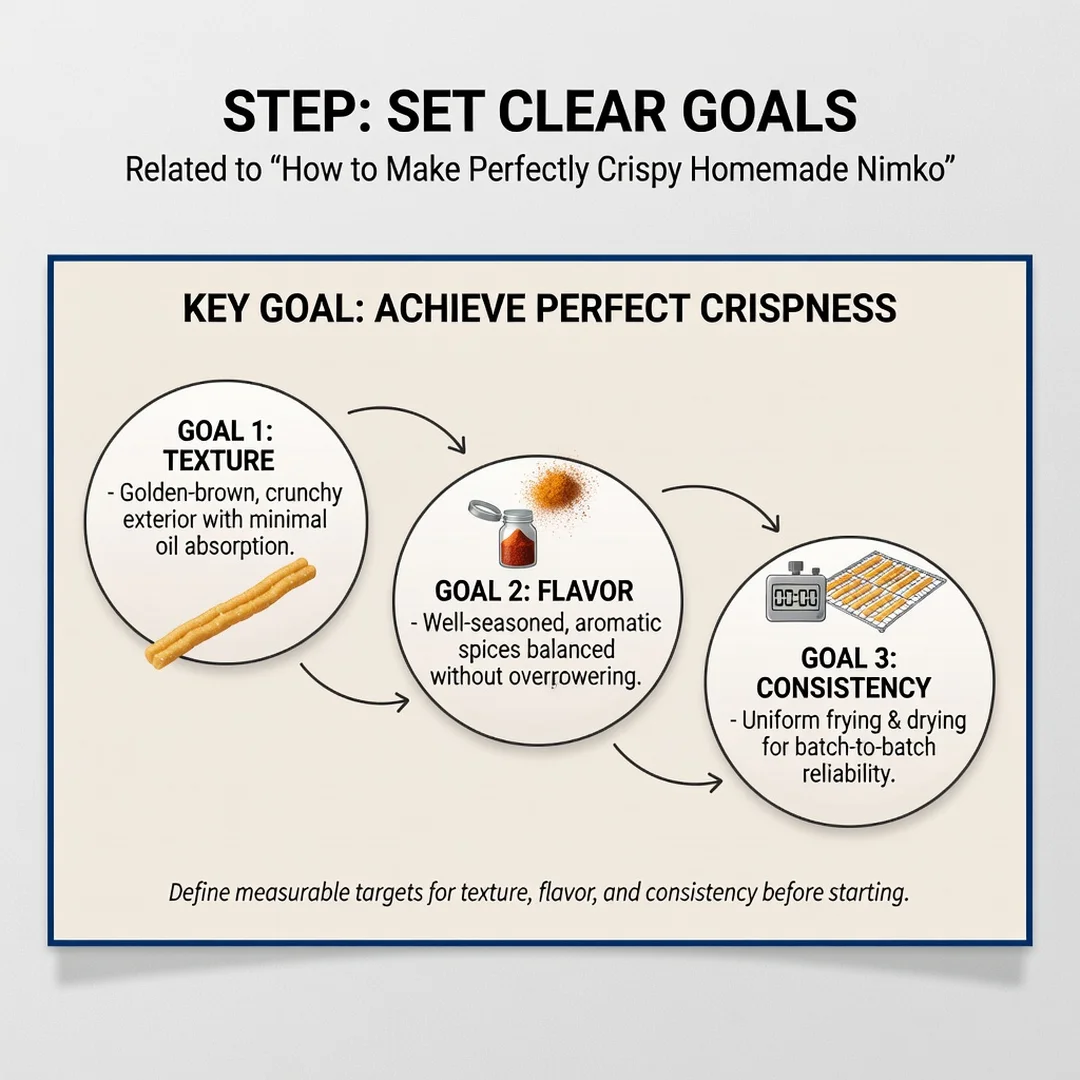
Step 3: Set clear goals
Decide what kind of nimko you are making and how long you need it to stay crisp. A mix intended for same-day snacking can include fresh curry leaves and soft raisins. A batch meant to be jarred for a week or more should skip high-moisture additions and lean toward thoroughly dried components. Write down your target: “crisp for five days in an airtight jar,” for example. Clear goals make trade-offs obvious.
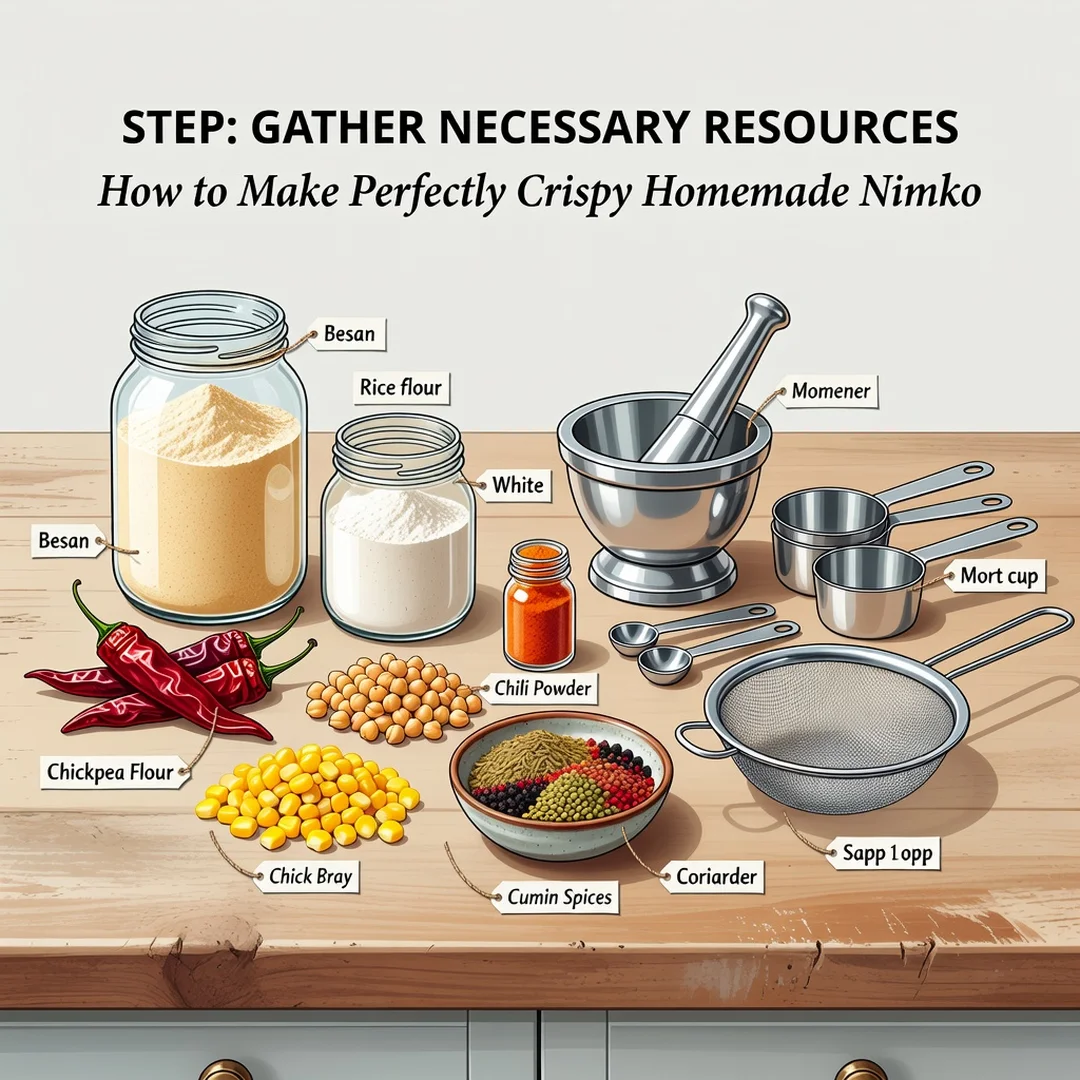
Step 4: Gather necessary resources
Collect your ingredients and equipment before you start frying, because nimko moves fast once the oil is hot. You will need your chosen dals, peanuts or cashews, sev or boondi, poha or murmura, and spices such as salt, chilli powder, turmeric, asafoetida, cumin, amchur, and citric acid. On the equipment side, have a heavy-bottomed pan, a spider or slotted spoon, paper towels, a cooling tray, a kitchen thermometer, and airtight storage jars ready.
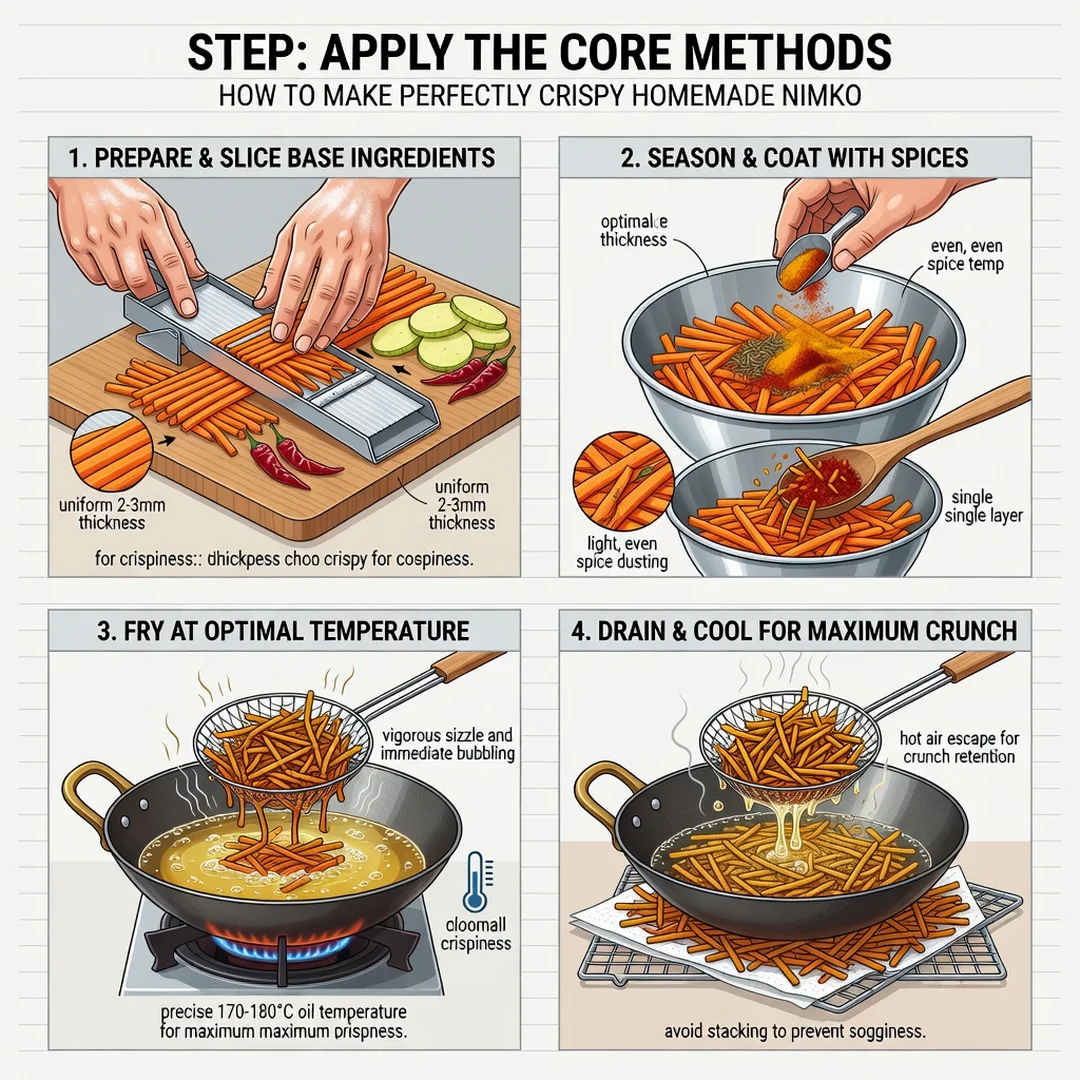
Step 5: Apply the core methods
Heat the oil to the correct temperature for each component and fry in small batches, draining each batch on paper towels. Work in this order: lentils first, then nuts, then sev or boondi, then the delicate grains. As each batch finishes, tip it onto a wide tray to cool. Once everything is cool, combine the dry components in a large bowl. Whisk your seasoning blend together and sprinkle it over the mix, tossing gently but thoroughly. Taste, adjust, and let the whole mix rest uncovered for thirty minutes before transferring it to airtight jars. This final open-air.
You now have a solid foundation for How to Make Perfectly Crispy Homemade Nimko. Apply the best practices above and revisit this guide as your needs evolve.